Claas Quantum 6800-4500 Gt P (615) Loader Wagons Technical System EN
$150.00
- Model: Quantum 6800-4500 Gt P (615) Loader Wagons
- Type Of Manual: Technical System
- Language: EN
- Format: PDF(s)
- Size: 31.6 MB
File List:
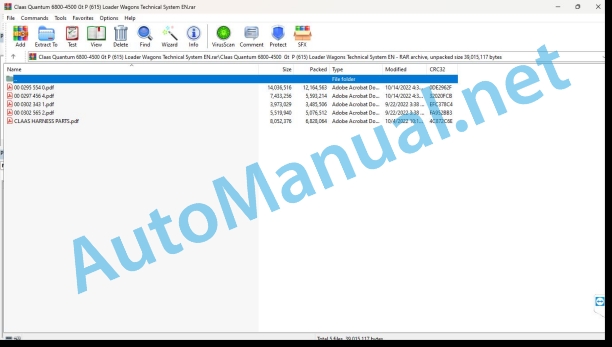
00 0295 554 0.pdf
00 0297 456 4.pdf
00 0302 343 1.pdf
00 0302 565 2.pdf
CLAAS HARNESS PARTS.pdf
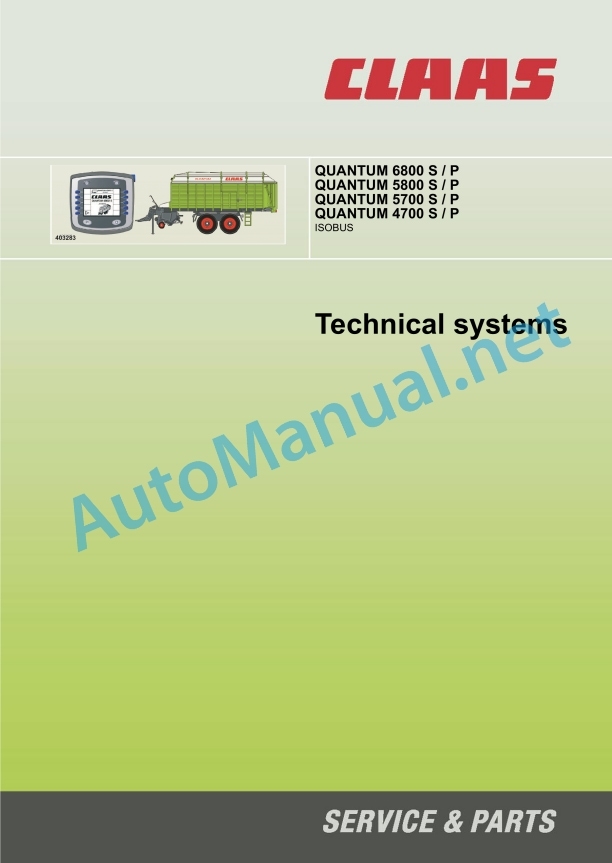
00 0295 554 0.pdf:
Contents
1 Overall hydraulic system
Hydraulic Circuit Diagram QUANTUM 6800 S – 4700 S
Overall circuit diagram
Designations
Hydraulic Circuit Diagram QUANTUM 6800 P – 4700 P
Overall circuit diagram
Designations
Main Valve Block QUANTUM 6800 – 4700 S
Main Valve Block QUANTUM 6800 – 4700 P
Designations
Location of the hydraulic components
Individual components
2 Electrics
Electric circuit diagram
Graphics (DIN A3)
Designations
Loader wagon module A108
Connector pin assignment
Module A108 – loader wagon
Cutting floor position sensor (B067)
Function
Adjustment
Measuring values table
Rear PTO shaft speed sensor (B142)
Function
Adjustment
Measuring values table
Tractive force sensor (B144)
Function
Adjustment
Measuring values table
Tailgate opening angle sensor (B206)
Function
Adjustment
Measuring values table
Pick-up position sensor (B263)
Function
Adjustment
Measuring values table
Drawbar position sensor (B264)
Function
Adjustment
Measuring values table
Roof fill-level sensor (B265)
Function
Adjustment
Measuring values table
100 % full sensor (B266)
Function
Adjustment
Measuring values table
Proportioning roller speed sensor (B267)
Function
Adjustment
Measuring values table
Crop fill-level sensor (B268)
Function
Adjustment
Measuring values table
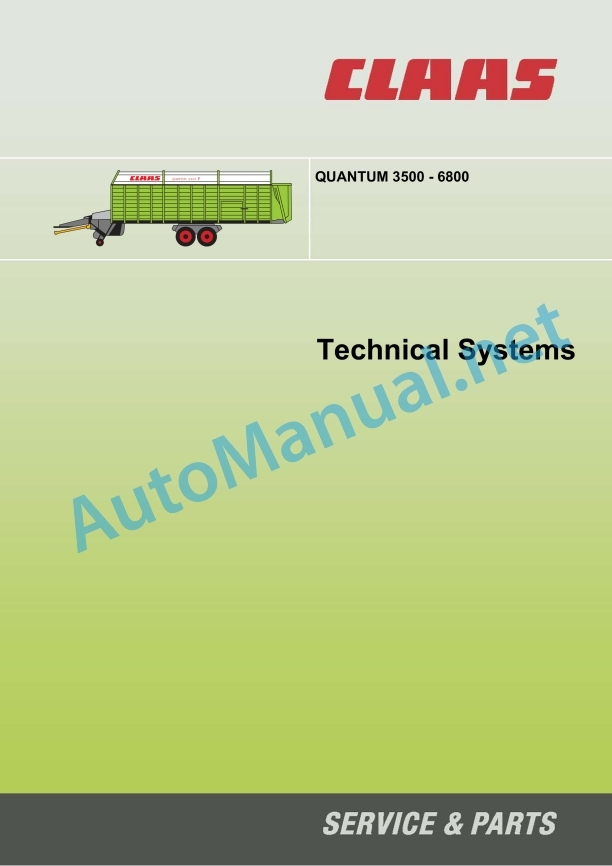
00 0297 456 4.pdf:
Technical Systems QUANTUM 3500 – 6800
Chapters
1 Technical Data
1.0 QUANTUM 2500 K, 2500 P, 3500 K, 3500 P, 3800 K, 3800 P
1.1 QUANTUM 3500 K, 3500 P, 3500 S, 3800 K, 3800 P, 2500 K, 2500 P
1.2 QUANTUM 5500 S-18, 5500 S-16, 5500 S, 4500 S, 6800 S
1.3 QUANTUM 6800 P, 6500 P, 5500 P-18, 5500 GT, 5500 P, 4500 P
3 Operation
1.0 QUANTUM 2500 K, 2500 P, 3500 K, 3800 K, 3800 P, 3500 S
1.1 Control box short instructions
1.2 Operation
2.0 QUANTUM 4500 S / 5500 S / S-16 / S-18 / 6800 S
2.1 Control box short instructions
2.2 Operation
3.0 QUANTUM 4500 P / 5500 P / 5500 P-16 / 5500 P-18 / 5500 GT / 6800 P
3.1 Control box short instructions
3.2 Operation
10 Brakes
1.0 Compressed air circuit diagrams
1.1 QUANTUM 5500P/S-16 40 km/h, 16 to, (steering axle)
1.2 QUANTUM 2500K/P, 3500P/S/K, 3800K/P, 4500S/P 40 km/h (steering axle)
1.3 5500P/S 40 km/h, 13 to, (steering axle)
1.4 5500P-18/S -18, 60 km/h
1.5 5500P/S 80 km/h (ABS)
1.6 Compressed air system with level regulating valve
1.7 5500 P/S 50/60 km/h
1.8 5500 S, 40/60 km/h
2.0 Adjustments
2.1 Diaphragm cylinder
2.2 Adjusting the rod adjuster
2.3 Brake-power regulator (ALD)
2.4 Air suspension
11 Hydraulics
1.0 LS pump
1.1 Initial position (Motor Off)
1.2 Low pressure standby
1.3 A control device is actuated = start of LS pump delivery
1.4 Constant volume flow
1.5 Downstroking
1.6 Maximum pressure limitation (pressure relief valve function)
1.7 Connecting the self-loading forage wagon (hydraulic supply)
2.0 QUANTUM 3500K / 3800K / 3500P / 3500S
2.1 3500K, 2500K, 3800K
2.2 3500P, 2500P, 3800P
2.3 3500S
3.0 QUANTUM 4500S / 5500S / S-16 / S-18 / 6800S
3.1 Survey
3.2 Circuit Diagram
3.3 Control block
3.4 4/3 way solenoid valve (knife frame, raise/lower articulated drawbar)
3.5 3/3 way solenoid valve (open/close tailgate)
3.6 Valve block (pick-up and shredder drum)
3.7 Pick-up and shredder drum engagement cylinder
3.8 DANFOSS OMR 125 floor conveyor hydraulic motor (single-speed motor)
3.9 2-speed motor
3.10 3 way cross conveyor belt flow control valve
3.11 4/3 way solenoid valve (cross conveyor belt)
3.12 3/2 way solenoid valve (cross conveyor belt) QUANTUM S
4.0 QUANTUM 4500P / 5500P / 5500 P-16 / 5500 P-18 / 5500GT /_x000B_6500P / 6800P
4.1 Circuit Diagram
4.2 Function
4.3 Circulation valve with pressure relief valve
4.4 4/3 way Proportional solenoid valve
4.5 4/3 way solenoid valve
4.6 2/2 way solenoid valve (seated valve)
4.7 DANFOSS OMR 125 hydraulic motor
4.8 Faults and remedies
4.9 Arresting cylinder for trailing axle
5.0 QUANTUM 6800
5.1 Forced steering
12 Electric System
1.0 QUANTUM 2500 K, 2500 P, 3500 K, 3500 P, 3500S, 3800 K, 3800 P
1.1 3500 K, 3800 K, 2500 K – circuit diagram
1.2 3800 P, 3500 P, 2500 P – circuit diagram
1.3 3500 S – circuit diagram
1.4 Chopper amplifier SC-2000-U
1.5 Lighting
2.0 QUANTUM 4500 S / 5500 S / S-16 / S-18 / 6800 S
2.1 Circuit Diagram
2.2 Diagnosis
2.3 QUANTUM S power board (A)
2.4 Setting of reed switches
2.5 Dip switches
2.6 QUANTUM S lighting
3.0 QUANTUM4500 P / 5500 P / 5500 P-16 / 5500 P-18 / 5500 GT / 6500 P / 6800 P
3.1 Circuit Diagram
3.2 QUANTUM P distributor box
3.3 Trouble and remedy
3.4 QUANTUM P Lighting
0297 456.4
00 0302 343 1.pdf:
PROFI CAM 3
Table of contents
General information
Marking of warnings and hazard prevention notes
First-aid measures
CCN explanation
CCN (CLAAS Component Number)
Electric system standard
Overview
Hydraulic system standard
Overview
CCN (CLAAS Component Number)
10 Electrical / Electronic equipment
1030 Board computer / Indicators
Camera system
Description of function
1097 Testing / Measuring / Adjusting
Testing / measuring / adjusting the PROFI CAM
Checking the fuse in the video channel select box (C102)
Testing the video camera connector (C055)
1098 Fault / remedy
Fault / remedy PROFI CAM
The video monitor (C101) shows no image or cannot be switched on (indicator light fails to light up)
Video monitor (C102) displays a blue image either permanently or temporarily
The video monitor image is blurred
Replacing the fuse in the video channel select box (C102)
Connection and connecting cable with video camera (C055)
00 0302 565 2.pdf:
Sensor system
Table of contents
CCN explanation
CCN (CLAAS Component Number)
Electric system standard
Overview
Hydraulic system standard
Overview
CCN (CLAAS Component Number)
Introduction
Safety rules
Safety and hazard information
10 Electrical / Electronic equipment
1097 Testing / Measuring / Adjusting
Test report of the angle sensor (0011780.x)
Application of test report
Required tools
Test report of the angle sensor (0011780.x)
Testing / Measuring / Adjusting of angle sensor (0011780.x)
1. Reason for test
2. Mechanical test of angle sensor
3. Electric test with CDS
4. Electric test with multimeter
5. Mechanical test of connecting cable
Completing the machine
Test report of position and speed sensors
Application of test report
Required tools
Sensor variants
Part numbers of speed sensors
Part number of position sensor
Test report of position and speed sensors
Testing / measuring / adjusting of position and speed sensors
1. Reason for test
2. Mechanical test
3. Electric test with CDS
4a. Installation dimensions
Check of installation dimension
Installation dimensions of gearbox speed sensor (0011 799.x) and cam speed sensor (0011 810.x)
Installation dimension of position sensor (0011 815.x)
4b. Installation position
Centring of sensor
Metal-free zone
5. Electric test with multimeter
Voltage measurement
Direction of rotation and speed sensor (0011 605.x)
Measured values table
6. Mechanical test of connecting cable
Completing the machine
Test report of the urea sensor (00 0773 207 x)
Application of test report
Required tools
Parts number of the urea sensor
Test report of the urea sensor
Testing / measuring / adjusting urea sensor
1. Reason for test
2. Mechanical test
3. Mechanical test of connecting cable
4. Electric test with multimeter
5. Component test with the CDS
CLAAS HARNESS PARTS.pdf:
CLAAS HARNESS PARTS
Table of contents
10 Electrical / Electronic equipment
1081 Overview of connectors
CLAAS HARNESS PARTS (CHP)
John Deere Repair Technical Manual PDF
John Deere Repair Technical Manual PDF
John Deere Repair Technical Manual PDF
John Deere Repair Technical Manual PDF
John Deere Transmission Control Unit Component Technical Manual CTM157 15JUL05
John Deere Repair Technical Manual PDF
John Deere Repair Technical Manual PDF
John Deere PowerTech M 10.5 L and 12.5 L Diesel Engines COMPONENT TECHNICAL MANUAL CTM100 10MAY11
John Deere Repair Technical Manual PDF
John Deere POWERTECH E 4.5 and 6.8 L Diesel Engines TECHNICAL MANUAL 25JAN08
John Deere Repair Technical Manual PDF

