Claas F1200 C1200 Soja Getreide Lexion (442) Combines Assembly Instruction EN
$50.00
- Model: F1200 C1200 Soja Getreide Lexion (442) Combines
- Type Of Manual: Assembly Instruction
- Language: EN
- Format: PDF(s)
- Size: 50.2 MB
File List:
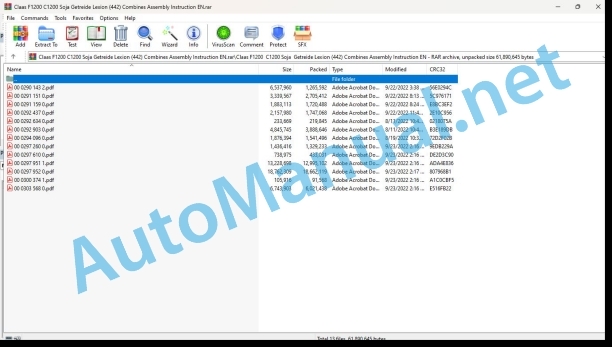
00 0290 143 2.pdf
00 0291 151 0.pdf
00 0291 159 0.pdf
00 0292 437 0.pdf
00 0292 634 0.pdf
00 0292 903 0.pdf
00 0294 096 0.pdf
00 0297 260 0.pdf
00 0297 610 0.pdf
00 0297 951 1.pdf
00 0297 952 0.pdf
00 0300 374 1.pdf
00 0303 568 0.pdf
00 0291 151 0.pdf:
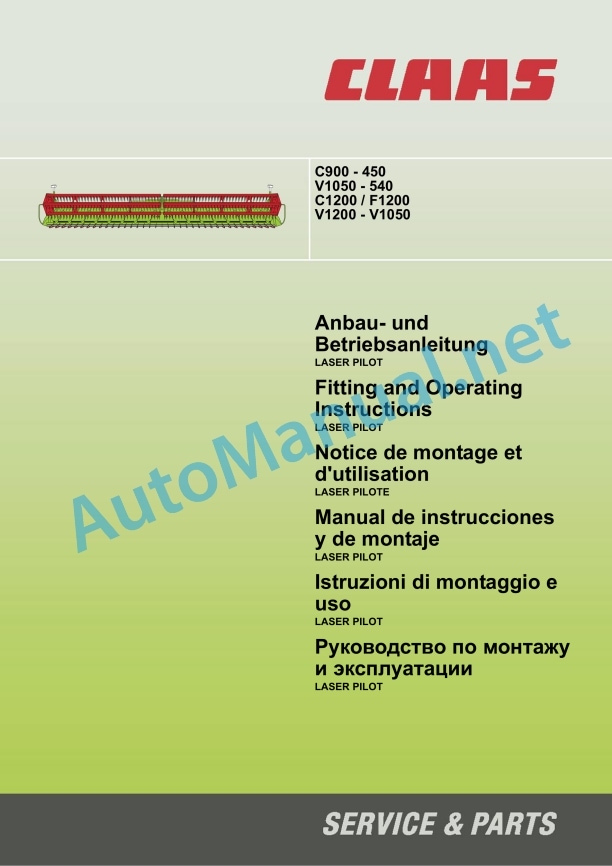
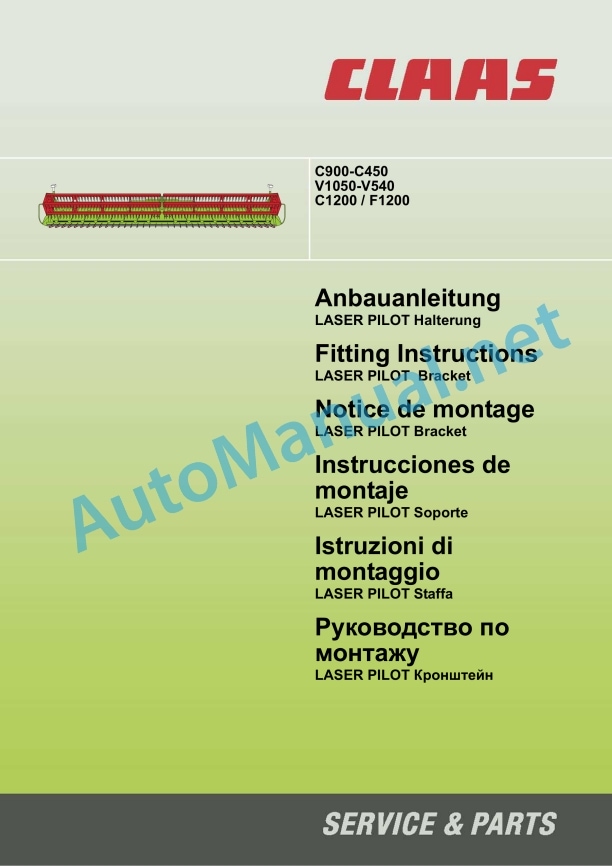
1 Einleitung
1.1 Allgemeine Hinweise
1.1.1 Handhabung der Anleitung
1.1.2 Gltigkeit der Anleitung
1.1.3 Technical Angaben
2 Sicherheit
2.1 Allgemeine Hinweise
2.1.1 Besonders zu beachten
2.1.2 Bestimmungsgeme Verwendung
2.2 Sicherheitshinweise
2.2.1 Kennzeichnung von Warn- und Gefahrenhinweisen
3 Lieferumfang
3.1 LASER PILOT
3.1.1 Nachrstsatz LASER PILOT links
3.1.2 Nachrstsatz LASER PILOT rechts (Zusatzausrstung)
4.1 Anbau vorbereiten
4.1.1 Maschine auer Betrieb setzen
4.1.2 Lieferumfang kontrollieren
4.2 Anbau
4.2.1 LASER PILOT anbauen
4.2.2 LASER PILOT rechts (Zusatzausrstung) SchalLenkung
5.1.1 LASER PILOT ausklappen
5.1.2 LASER PILOT installations
1 Introduction
1.1 General Information
1.1.1 How to use this manual
1.1.2 Validity of manual
1.1.3 Specifications
2 Safety
2.1 General Information
2.1.1 Important information
2.1.2 Intended use
2.2 Safety rules
2.2.1 Identification of warning and danger signs
3 Package list
3.1 LASER PILOT
3.1.1 LASER PILOT left side retrofit kit
3.1.2 LASER PILOT right side retrofit kit (accessory)
4 Mounting
4.1 Preparing the installation
4.1.1 Putting the machine out of action
4.1.2 Checking the shipping package
4.2 Installation
4.2.1 Installing the LASER PILOT
4.2.2 Installing the switch of right LASER PILOT (accessory)
5 Fieldwork settings
5.1 Steering
5.1.1 Folding out the LASER PILOT
5.1.2 Adjusting the LASER PILOT
1 Introduction
1.1 General advice
1.1.1 Use of the notice
1.1.2 Validity of the notice
1.1.3 Technical indications
2 Security
2.1 General advice
2.1.1 Important
2.1.2 Conformity of use
2.2 Safety instructions
2.2.1 Markage of warnings and dangers
3 Pices fournies
3.1 LASER PILOT
3.1.1 Next assembly LASER PILOTE left side
3.1.2 Next assembly LASER PILOTE right side (supplementary equipment)
4 Montages
4.1 Prepare the pose
4.1.1 Eteindre la machine
4.1.2 Check the four pieces
4.2 Montage
4.2.1 Pose of LASER PILOT
4.2.2 LASER PILOTE ct droit (supplementary team) poser l’interrupteur
5 Rglage pour le travail
5.1 Direction
5.1.1 Details of the LASER PILOTS
5.1.2 Adjust the LASER PILOTS
1 Introduction
1.1 General indications
1.1.1 Using the instructions
1.1.2 Validity of the manual
1.1.3 Technical data
2 Safety Medications
2.1 General indications
2.1.1 Especially important
2.1.2 Intended use
2.2 Safety instructions
2.2.1 Reporting of warnings and warnings
3 Suminister Council
3.1 LASER PILOT
3.1.1 Playing the LASER PILOT rear equipment
3 Play equipment (additional equipment)
4 Assembly
4.1 Prepare the assembly
4.1.1 Place the machine out of service
4.1.2 Check the chief executive officer
4.2 Assembly
4.2.1 Mount the LASER PILOT
4.2.2 LASER PILOT behind (additional equipment) mount the interruptor
5 Adjustment in operational service
5.1 Management
5.1.1 Unplug the LASER PILOT
5.1.2 Adjust the LASER PILOT
1. Introduction
1.1 General indications
1.1.1 Application of the user manual
1.1.2 Validity of the user manual
1.1.3 Technical data
2 Safety
2.1 General indications
2.1.1 Important warnings
2.1.2 Specific use
2.2 Safety regulations
2.2.1 Warning and danger signs
3 Total supply
3.1 LASER PILOT
3.1.1 Left LASER PILOT upgrade kit
3.1.2 Right LASER PILOT upgrade kit (accessory equipment)
4 Assembly
4.1 Prepare for assembly
4.1.1 Put the machine out of operation
4.1.2 Check the delivery assembly
4.2 Assembly
4.2.1 Assembly of the LASER PILOT
4.2.2 Right LASER PILOT (accessory equipment) switch assembly
5 Adjustment for practical use in the field
5.1 Steering
5.1.1 Lift the LASER PILOT
5.1.2 Registering the LASER PILOT
2.1.2 O 3.1.1 Scope of delivery of the mounting kit
4 conversion
4.1 Multicoupler
4.1.1 Convert the multi-coupler on the attachment
– Drill a 60 mm hole in the protective device (S) according to the dimensions.
Dimensions:
– A = 40mm
– W = 35mm
(Fig. 1)
– Weld on four weld nuts (1) according to the dimensions.
– Paint weld nuts and welds.
Dimensions:
– C = 85mm
– D = 75mm
– E = 35mm
– F = 25mm
(Fig. 2)
– Remove guards (R), (S) and (E).
(Fig. 3)
– Remove circlips.
(Fig. 4)
– Unscrew the hydraulic lines from the clutch plug (K). Collect any leaking hydraulic oil.
– Remove clutch plug (K).
(Fig. 5)
80back the two hoses (P) and (T) and route them through the upper opening (arrow).
(Fig. 6)
– Screw on the holder (2) with screws (3).
(Fig. 7)
– Screw the protective device (E) back on.
– Guide the hoses through the opening of the protection device (E).
(Fig. 8)
– Mount the protective cap (4) on the coupling sleeve (5).
(Fig. 9)
– Insert the coupling sleeve (5) into the holder (2).
– Connect hose (T).
(Fig. 1Mount the protective cap (6) on the existing coupling plug (K).
– Insert the coupling plug (K) into the holder (2) and screw on the hose (P).
– Lock the coupling sleeve (5) and coupling plug (K) with set screws.
(Fig. 11)
– Attach protective caps (4) and (6).
– Tighten all screw connections tightly.
(Fig. 12)
– Attach bridge (7) to plug (N).
(Fig. 13)
– Attach protective devices (S) and (R).
(Fig. 14)
4.1.2 Converting the speed display for the reel drive
– Unscrew the protective device (U).
(Fig. 15)
– Remove chain (K).
– Unscrew the chain wheel (R).
– Loosen set screw (W).
– Pull off hub (N).
(Fig. 16, 17)
– Mount the hub (8).
– Screw on the chain wheel (R).
– Align sprockets with each other.
– Fix and lock the hub (8) with a threaded pin.
– Screw on the inductive transmitter (9).
– Setting the inductive encoder:
The setting dimension between gear and inductive encoder is 1.5 0.5 mm.
– Attach the cable set.
– Screw on the protective device.
(Fig. 17, 18)
4.1.3 Convert the multi-coupler to achine
– Unlock the adjusting ring and pull it up.
(Fig. 19)
– Install star grip nut (10).
– Lightly grease the balls (11) and insert them into the holes at the base of the star grip nut.
– Lower the adjusting ring (L) and secure it.
(Fig. 19, 20)
1 Introduction
1.1 General information
1.1.1 How to use this manual
1.1.2 Validity of instructions
2 Safety precautions
2.1 Important
2.1.1 Important
2.1.2 Identification of warning anddanger signs
3 Package list
3.1 Multicoupler
3.1.1 Shipping package of installation kit
4 Conversion
4.1 Multicoupler
4.1.1 Converting the multicoupler on the front attachment
– Drill a hole of 60 mm according to the dimensions specified in guard (S).
Dimensions:
– A = 40mm
– W = 35mm
(Fig. 1)
– Weld on four weld nuts (1) according to the dimensions specified.
– Paint the weld nuts and the welding points.
Dimensions:
– C = 85mm
– D = 75mm
– E = 35mm
– F = 25mm
(Fig. 2)
– Remove guards (R), (S) and (E).
(Fig. 3)
– Remove circ
(Fig. 4)
– Unscrew hydraulic lines from the male couplings (K). Collect any leaking hydraulic oil.
– Remove the male couplings (K).
(Fig. 5)
– Pull back the two hoses (P) and (T) lay them through the top opening (arrow).
(Fig. 6)
– Bolt down the bracket (2) with bolts (3).
(Fig. 7)
– Refit guard (E).
– Guide the hoses through the opening of guard (E).
(Fig. 8)
– Install cap (4) on feale coupling (5).
(Fig. 9)
– Insert female coupling (5) into bracket (2).
– Connect pants (T).
(Fig. 10)
– Install cap (6) on the existing male coupling (K).
– Insert the male coupling (K) into bracket (2) and bolt down hose (P).
– Arrest female coupling (5) and male coupling (K) with set screws.
(Fig. 11)
– Fit caps (4) and (6).
– Tighten all screwed fittings firmly.
(Fig. 12)
– Mount the bridge (7) on connector (N).
(Fig. 13)
– Fit guards (S) and (R).
(Fig. 14)
4.1.2 Converting the reel drive speed indicator
– Unscrew guard (U).
(Fig. 15)
– Remove chain (K).
– Unscrew sprocket (R).
– Slacken off set screw (W).
– Pull off hub (N).
(Fig. 16, 17)
– Mount hub (8).
– Bolt down sprocket (R).
– Align the sprockets with one another.
– Arrest the hub (8) with a set screw and lock it.
– Bolt down the magnetic pick-up (9).
– Adjusting the magnetic pick-up:
The adjusting dimension between the gear and the magnetic pick-up is 1.5 0.5 mm.
– Fit the wiring loom.
– Bolt down the guard.
(Fig. 17, 18)
4.1.3 Converting the multicoupler on the machine
– Unlock the set collar and pull it upwards.
(Fig. 19)
– Mount the tapped turn lock (10).
– Slightly grease the balls (11) and insert them into the bores at the bottom of the tapped turn lock.
– Move set collar (L) down and secure it.
(Fig. 19, 20)
1 Introduction
1.1 General Councils
1.1.1 Utilization of the notice
1.1.2 Validity of the notice
2 Security Councils
2.1 Observers!
2.1.1 Important
2.1.2 Marquage of avertissements and dangers
3 pieces fournies
3.1 Multicoupleur
3.1.1 Assembly kit, four pieces
4 Modification of the assembly
4.1icoupleur
4.1.1 Modification of the assembly of the multicouple on the front tool
– Percer in the device of protection (S) and trou de 60 mm selon les cotes specifies.
– A = 40mm
– W = 35mm
(Fig. 1)
– Souder quatre crous souder (1) selo cotes spcifies.
– Peindre les crous souder et les points de soudure.
– C = 85mm
– D = 75mm
– E = 35mm
– F = 25mm
(Fig. 2)
– Enlever les dispositifs de protection (R), (S) and (E).
(Fig. 3)
– Enlever les circlips.
(Fig. 4)
– Dvisser les hydraulic conduites des fiches de couplage (K). Recueillir the oil hydraulic qui s’coule.
– Dposer la fiche de couplage (K).
(Fig. 5)
– Tirer sur les deux flexibles (P) et (T) et les faire passer travers l’ouverture suprieure (flche).
(Fig. 6)
– Visser le support (2) avec les vis (3).
(Fig. 7)
– Revisser the dispositif de protection (E).
– Faire passer les flexibles travers l’ouverture du dispositif de protection (E).
(Fig. 8)
– Mon- Poser le manchon d’accouplement (5) in le support (2).
– Brancher le flexible (T).
(Fig. 10)
– Monter le cache de protection (6) on the fiche de couplage exist.
– Pose the fiche de couplage (K) in the support (2) and see the flexible (P).
– Bloquer the manchon d’accouplement (5) and the fiche de couplage (K) with the goupilles filetes.
(Fig. 11)
– Possible caches of protection (4) and (6).
– Bien resserrer tous les raccords visss.
(Fig. 12)
– Poser the bridge (7) on the connector (N).
(Fig. 13)
– Poser les dispositifs de protection (S) and (R).
(Fig. 14)
4.1.2 Modification of the admission regime for the discounter
– Dvisser le dispositif de protection (U).
(Fig. 15)
– Enlever the chain (K).
– Dvisser le pignon (R).
– Desserrer the goupille filete (W).
– Extraire le moyeu (N).
(Fig. 16, 17)
– Monter le moyeu (8).
– Visser le pignon (R).
– Aligner les pignons les us par rapport aux others.
– Fixer le moyeu (8) with the goupille and the blocker.
– Visser le capteur inductifr inductif:
The distance between the pignon and the inductor is 1.5 0.5 mm.
– Placame cables.
– See the protection device.
(Fig. 17, 18)
4.1.3 Modification of the assembly of the multicouple on the machine
– Dbloquer the bague de rglage and the tirer vers le haut.
(Fig. 19)
– Monter l’crou poigne toile (10).
– Graisser lgrement les bills (11) and les placer dans les trous au pied de l’crou poigne toile.
– Placer the bague de rglage vers le bas (L) and la bloquer.
(Fig. 19, 20)
00 0297 951 1.pdf:
aDeckblatt vorne
from 25a
from 25h
in 25 hours
jDeckblatt hi 01
jDeckblatt hi 02
jDeckblatt hi 03
00 0297 952 0.pdf:
30-Deckblatt vorne
30-Deckblatt hinten
John Deere Repair Technical Manual PDF
John Deere Repair Technical Manual PDF
John Deere Repair Technical Manual PDF
John Deere Parts Catalog PDF
John Deere Tractors 7500 Parts Catalog CPCQ26568 30 Jan 02 Portuguese
John Deere Repair Technical Manual PDF
John Deere POWERTECH E 4.5 and 6.8 L Diesel Engines TECHNICAL MANUAL 25JAN08
John Deere Repair Technical Manual PDF
New Holland Service Manual PDF
John Deere Repair Technical Manual PDF
John Deere DF Series 150 and 250 Transmissions (ANALOG) Component Technical Manual CTM147 05JUN98
John Deere Repair Technical Manual PDF

