Claas Quadrant 2200 Rc (735) Balers Technical System EN
$300.00
- Model: Quadrant 2200 Rc (735) Balers
- Type Of Manual: Technical System
- Language: EN
- Format: PDF(s)
- Size: 19.6 MB
File List:
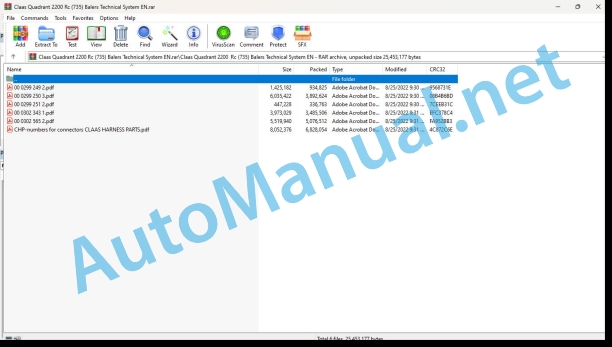
00 0299 249 2.pdf
00 0299 250 3.pdf
00 0299 251 2.pdf
00 0302 343 1.pdf
00 0302 565 2.pdf
CHP-numbers for connectors CLAAS HARNESS PARTS.pdf
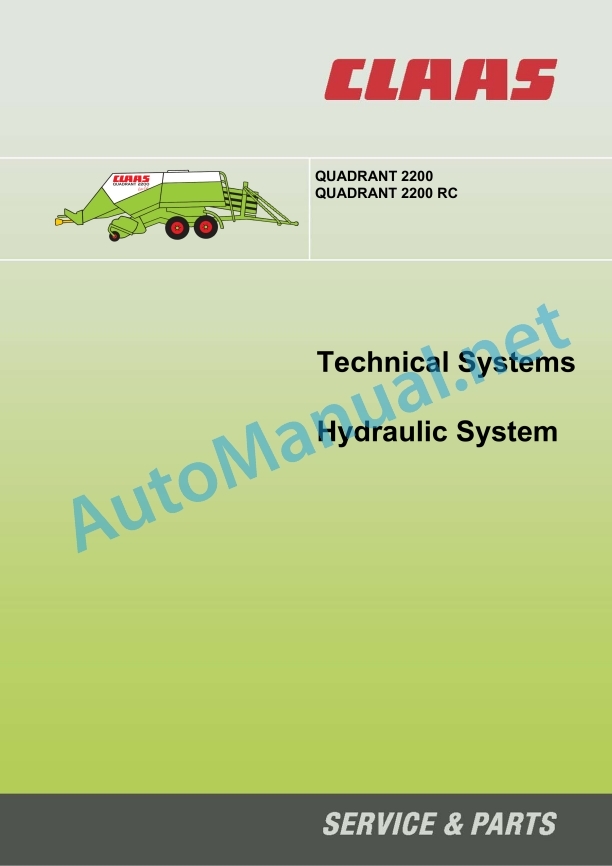
00 0299 249 2.pdf:
Hydraulic System Quadrant 2200
1_x000B__x000B_Hydraulic System Circuit Diagram_x000B_QUADRANT 2200
1.1 Overall hydraulic system circuit diagram Rotocut up to serial no. 1166; Feed rotor up to serial no. 1416
1.2 Overall hydraulic system circuit diagram Rotocut from serial no. 1167, Feed rotor from serial no. 1417
2_x000B__x000B_Main valve
2.1 Main valve
2.2 2/2 way valve (Baling pressure overload protection)
2.3 Hydraulic cylinder (Bale chamber)
3 ROTOCUT knives, cutting frame
3.1 4/3 way solenoid valve ROTOCUT knives IN/OUT Open/close cutting frame
3.2 ROTOCUT knives IN/OUT hydraulic cylinder
3.3 Open/close cutting frame hydraulic cylinder
4_x000B__x000B_Bale ejector
4.1 4/3 way solenoid valve – Bale ejector ROTOCUT up to serial no. 1166; – Feed rotor up to serial no. 1416
4.2 4/3 way solenoid valve – Bale ejector ROTOCUT from serial no. 1167; – Feed rotor from serial no. 1417
4.3 Bale ejector hydraulic cylinder
5_x000B__x000B_Raise/lower pick-up
5.1 Pressure relief valve with accumulator (Pick-up)
5.2 Raise/lower pick-up hydraulic cylinder
6 Turbo fan (knotter cleaning fan)
6.1 Turbo fan hydraulic circuit diagram
6.2 Turbo fan valve block
7_x000B__x000B_Steering axle locking
7.1 Hydraulic circuit diagram
8_x000B__x000B_Swath spreader
8.1 Swath spreader hydraulic circuit diagram
9_x000B__x000B_Valve inserts
9.1 Valve inserts in the directional control valves
9.2 Function of valve inserts
0299 249.2
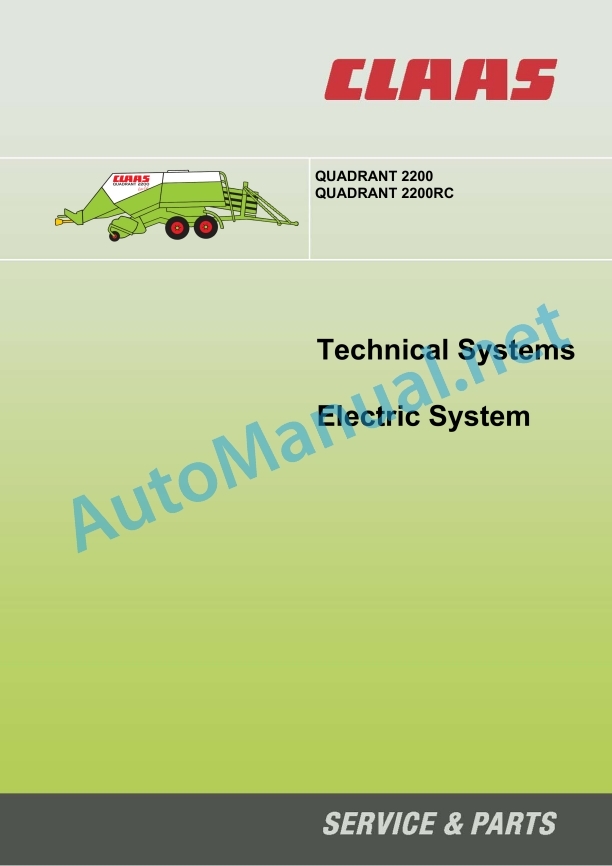
00 0299 250 3.pdf:
Technical Systems – Electric System QUADRANT 2200 / QUADRANT 2200RC
Layout of electric circuitdiagrams
Central terminal compartment (4 modules)
CCU – Claas Control Unit (1 module)
Pin assignment in modules
Pin assignment in modules
Module A20 -1
Module A20 -2
Module A20 -3
Module A20 -4
Module A20 – CCU, with terminal A30 CCT
Module A20 – CCU, with terminal A30 Communicator
Module A20 – CCU – with terminal A30 Communicator – with Company Deutsch connector
Main power supply
01a – Main power supply (with central terminal compartment)
01b – Main power supply (with CCU)
01c – Main power supply (with CCU and Communicator)
01d – Main power supply with CCU and Communicator, with Company Deutsch connectors
04a – Master valve (with central terminal compartment)
04b – Master valve (with CCU)
04c – Master valve with CCU and Communicator, with Company Deutsch connectors
05a – Terminal (with central terminal compartment)
05b – Terminal (with CCU and CCT)
06a – CAN bus, module power supply (with central terminal compartment)
06b – CAN bus, module power supply (with CCU and CCT)
06c – CAN bus, module power supply (with CCU and Communicator)
06d – CAN bus, module power supply with CCU and Communicator, with Company Deutsch connectors
07a – Rotocut (with central terminal compartment)
07b – Rotocut (with CCU)
07c – Rotocut with CCU and Communicator, with Company Deutsch connectors
08a – Automatic cutting frame (with central terminal compartment, with 5 V cutting frame position sensor)
08b – Automatic cutting frame (with central terminal compartment, with 12 V cutting frame position sensor)
08c – Automatic cutting frame (with CCU and CCT)
08d – Automatic cutting frame (with CCU and Communicator)
08e – Automatic cutting frame with CCU and Communicator, with Company Deutsch connectors
10a – Baling pressure regulation (with central terminal compartment)
10b – Baling pressure regulation (with CCU and CCT)
10c – Baling pressure regulation (with CCU and Communicator)
10d – Baling pressure regulation with CCU and Communicator, with Company Deutsch connectors
11a – Wrapping release, knotter cleaning (with central terminal compartment)
11b – Wrapping release, knotter cleaning (with central terminal compartment, with 12 V cutting frame position sensor)
11c – Wrapping release, knotter cleaning (with CCU and CCT)
11d – Wrapping release, knotter cleaning (with CCU and Communicator) – up to 2005 model
11e – Wrapping release, knotter cleaning (with CCU and Communicator) – from 2005 model
11f – Wrapping release, knotter cleaning with CCU and Communicator, with Company Deutsch connectors from 2005 model
13a – Eject bale (with central terminal compartment)
13b – Eject bale (with CCU and CCT)
13c – Eject bale (with CCU and Communicator)
13d – Eject bale (mit CCU und Communicator, – with Company Deutsch connectors
26a – Machine monitoring (with central terminal compartment)
26b – Machine monitoring (with CCU and CCT)
26c – Machine monitoring (with CCU and Communicator)
26d – Machine monitoring (with CCU and Communicator, with Company Deutsch connectors
27a – Operating displays (with central terminal compartment)
27b – Operating displays (with CCU and CCT)
27c – Operating displays (with CCU and Communicator)
27d – Operating displays (with CCU and Communicator, with Company Deutsch connectors)
29a – Central lubrication system (with central terminal compartment)
29b – Central lubrication system (with CCU)
29c – Central lubrication system (with CCU and Communicator, with Company Deutsch connectors
32a – Taillight, side light (with central terminal compartment)
40a – Additional sockets (with central terminal compartment)
40b – Additional sockets (with CCU)
40c – Additional sockets(with CCU, with Company Deutsch connectors)
Wiring loom
Wiring loom A (with central terminal compartment)
Wiring loom B (with central terminal compartment)
Wiring loom C – part 1 (with central terminal compartment)
Wiring loom C – part 2 (with central terminal compartment)
Wiring loom C – part 3 (with central terminal compartment)
Wiring loom D – part 1 (with central terminal compartment)
Wiring loom D – part 2 (with central terminal compartment)
Wiring loom E (with CCU)
Wiring loom F (with CCU)
Wiring loom G (with CCU)
Wiring loom H – part 1 (with CCU)
Wiring loom H – part 2 (with CCU)
Wiring loom I (with CCU)
Wiring loom K (with Communicator)
0299 250.3
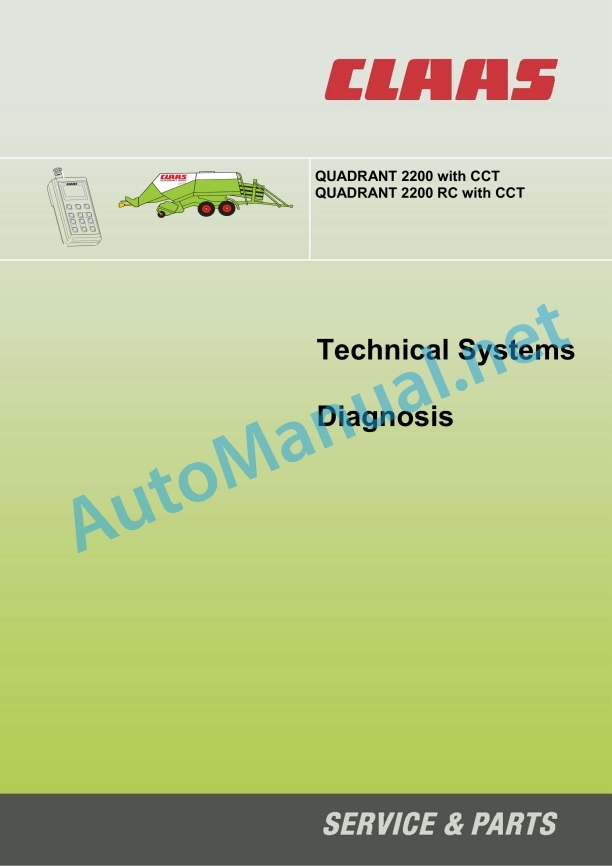
00 0299 251 2.pdf:
Diagnosis QUADRANT 2200 / 2200 RC with CCT
1.0 Control terminal service menu (up to module 1 no. 835024.2)
1.1 Service menu structure (up to module 1 no. 835024.2)
1.2 Additional information about page 8/1 (Service 1) (up to module 1 no. 835024.2)
1.3 Additional information about page 8/2 (Service RC) (up to module 1 no. 835024.2)
1.4 Input testing (up to module 1 no. 835024.2)
1.5 Output testing (up to module 1 no. 835024.2)
1.6 Error display (up to module 1 no. 835024.2)
1.7 Key test (up to module 1 no. 835024.2)
2.0 Control terminal service menu (from module 1 no. 835024.3)
2.1 Service menu structure (from module 1 no. 835024.3)
2.2 Additional information about page 8/1 (Service 1) (from module 1 no. 835024.3)
2.3 Additional information about page 8/2 (Service RC) (up to module 1 no. 835024.3)
2.4 Input testing (from module 1 no. 835024.3)
2.5 Output testing (from module 1 no. 835024.3)
2.6 Error display (from module 1 no. 835024.3)
2.7 Key test (from module 1 no. 835024.3)
3.0 Control terminal service menu (on CCU module)
3.1 Service menu structure (on CCU module)
3.2 Additional information about page 8/1 (Service 1) (on CCU module)
3.3 Additional information about page 8/2 (Service RC) (on CCU module)
3.4 Input testing (on CCU module)
3.5 Output testing (on CCU module)
3.6 Error display (on CCU module)
3.7 Key test (on CCU module)
4.0 Additional information
4.1 Testing the baling pressure sensor (B56) (with central terminal compartment)
4.2 Testing the metering wheel / bale length sensor (B69) (with central terminal compartment)
4.3 General (with central terminal compartment)
5.0 Information on replacing modules
0299 251.2
00 0302 343 1.pdf:
PROFI CAM 3
Table of contents
General information
Marking of warnings and hazard prevention notes
First-aid measures
CCN explanation
CCN (CLAAS Component Number)
Electric system standard
Hydraulic system standard
CCN (CLAAS Component Number)
10 Electrical / Electronic equipment
1030 Board computer / Indicators
Camera system
Description of function
1097 Testing / Measuring / Adjusting
Testing / measuring / adjusting the PROFI CAM
Checking the fuse in the video channel select box (C102)
Testing the video camera connector (C055)
1098 Fault / remedy
Fault / remedy PROFI CAM
The video monitor (C101) shows no image or cannot be switched on (indicator light fails to light up)
Video monitor (C102) displays a blue image either permanently or temporarily
The video monitor image is blurred
Replacing the fuse in the video channel select box (C102)
Connection and connecting cable with video camera (C055)
00 0302 565 2.pdf:
Sensor system
Table of contents
CCN explanation
CCN (CLAAS Component Number)
Electric system standard
Hydraulic system standard
CCN (CLAAS Component Number)
Introduction
Safety rules
Safety and hazard information
10 Electrical / Electronic equipment
1097 Testing / Measuring / Adjusting
Test report of the angle sensor (0011780.x)
Application of test report
Required tools
Test report of the angle sensor (0011780.x)
Testing / Measuring / Adjusting of angle sensor (0011780.x)
1. Reason for test
2. Mechanical test of angle sensor
3. Electric test with CDS
4. Electric test with multimeter
5. Mechanical test of connecting cable
Completing the machine
Test report of position and speed sensors
Application of test report
Required tools
Sensor variants
Part numbers of speed sensors
Part number of position sensor
Test report of position and speed sensors
Testing / measuring / adjusting of position and speed sensors
1. Reason for test
2. Mechanical test
3. Electric test with CDS
4a. Installation dimensions
Check of installation dimension
Installation dimensions of gearbox speed sensor (0011 799.x) and cam speed sensor (0011 810.x)
Installation dimension of position sensor (0011 815.x)
4b. Installation position
Centring of sensor
Metal-free zone
5. Electric test with multimeter
Voltage measurement
Direction of rotation and speed sensor (0011 605.x)
Measured values table
6. Mechanical test of connecting cable
Completing the machine
Test report of the urea sensor (00 0773 207 x)
Application of test report
Required tools
Parts number of the urea sensor
Test report of the urea sensor
Testing / measuring / adjusting urea sensor
1. Reason for test
2. Mechanical test
3. Mechanical test of connecting cable
4. Electric test with multimeter
5. Component test with the CDS
CHP-numbers for connectors CLAAS HARNESS PARTS.pdf:
CLAAS HARNESS PARTS
Table of contents
10 Electrical / Electronic equipment
1081 Overview of connectors
CLAAS HARNESS PARTS (CHP)
John Deere Parts Catalog PDF
John Deere Tractors 7500 Parts Catalog CPCQ26568 30 Jan 02 Portuguese
John Deere Repair Technical Manual PDF
John Deere Repair Technical Manual PDF
John Deere Diesel Engines POWERTECH 2.9 L Component Technical Manual CTM126 Spanish
John Deere Repair Technical Manual PDF
John Deere Repair Technical Manual PDF
John Deere 18-Speed PST Repair Manual Component Technical Manual CTM168 10DEC07
John Deere Repair Technical Manual PDF
John Deere Transmission Control Unit Component Technical Manual CTM157 15JUL05
John Deere Repair Technical Manual PDF
John Deere 16, 18, 20 and 24HP Onan Engines Component Technical Manual CTM2 (19APR90)
John Deere Repair Technical Manual PDF
John Deere Repair Technical Manual PDF
John Deere Parts Catalog PDF
John Deere Tractors 6300, 6500, and 6600 Parts Catalog CQ26564 (29SET05) Portuguese

