- Claas
- Grove
- New Holland
- Komatsu
- Kubota
- John Deere
- Linde
- Bomag
- CASE
- Clark
- JCB
- Jungheinrich
- Linde
- Yale
- Yanmar
- Manitou
- Manitowoc
- CNH
- Doosan
- Fiatagri
- Fiatallis
- Fiatallis Other Manual PDF
- Flexi Coil
- Ford New Holland
- Ford New Holland Other Manual PDF
- Huyndai
- Hypac
- Hyster
- Hyster Service Manual PDF
- Isuzu
- Kobelco
- Kohler
- Krupp
- Lombardini
- Mahindra
- Nuvera
- Perkins
- Sperry New Holland
- Utilev
- Versatile
- ZF
 Combines Repair Manual FR 1")
 Combines Repair Manual FR 2")
Claas V1050-V540 Vario Lexion Tucano (716) Combines Repair Manual FR
$200.00
- Model: V1050-V540 Vario Lexion Tucano (716) Combines
- Type Of Manual: Repair Manual
- Language: FR
- Format: PDF(s)
- Size: 5.7 MB
File List:
00 0299 204 0.pdf
00 0299 204 0.pdf:
Contents
General advice
Introduction
Overview of the CLAAS repair manual
Explanation of graphic symbols
Safety tips
Important_x0011_!
Marking of warnings and dangers
Use in accordance with instructions
General safety and accident prevention regulations
Exit the machine
Maintenance
Fundamental rule
Pressure accumulator
General repair tips
Origin of damage
Spare parts
Gearboxes / Housings
Tension of steel roller chains
Tapered Ring Fittings
Edit_x0011_:
Disassembly_x0011_:
Self-locking screws
Liquid screw brake
Correct installation of the clamping ring bearing
Correct installation of the clamping sleeve bearing
Screw connections with cutting ring on hydraulic lines
Bicone annular ring screw connections on hydraulic lines
Sealing cone screw connections on hydraulic lines
Welding work
pliance with the inctions below allows for quick and reliable repair_x0011_:
Tightening torques
Hydraulic screw fittings
Technical characteristics
Lubricant table
Training scheme
General workout tips
Left drive diagram_x0011_:
Right drive diagram_x0011_:
Dividers
Removing the dividers
Installation of dividers
Cutting deck bucket – cutting bar
Cutting deck bucket – cutting bar
Removing the VARIO table
Installation of the VARIO table
Adjustment of the probe stirrups of the_x0011_potentiometer
Replacement of the support shoe
Adjusting the sliding rails
Cleaning the sliding beams (19)
Cutting deck lock
Removing the cutting deck lock
Installing and adjusting the cutting deck lock
Cutting bar
Removing the blade
Installing the blade
Blade height adjustment
Workouts
Cardan shaft, main_x0011_drive
Removing the Main Drive PTO Shaft
Disassembly of the cardan shaft of_x0011_the main drive
Main drive_x0011_cardan shaft assembly
Installing the cardan shaft, main_x0011_drive
Left intermediate gear
Removing the left intermediate gear
Installing the left intermediate shaft
Removing the hydraulic pump drive shaft
Installing the hydraulic pump of the drive shaft
Blade drive
Removing the drive belt from_x0011_lame_x0011_(40)
Installing and adjusting the drive belt of_x0011_lame_x0011_(40)
Adjusting the traction cylinder for the blade drive_x0011
Adjusting the limit sensor
Removing the Blade Drive Belt Pull Cylinder (40)
Disassembling the Blade Drive Belt Traction Actuator (40)
Exploded view of the blade drive belt traction cylinder_x0011_(40)_x0011_:
Blade Drive Belt Pull Cylinder Assembly (40)
Installing the blade drive belt traction cylinder_x0011_(40)
Removing the nutation housing (N˚_x0011_PR 643 656.1 and N˚_x0011_PR 643 656.2)
Disassembly of the nutation housing (No. PR 643 656.1 and No. PR 643 656.2)
Nutation hoing assembly (PR No. 643 656.1 and PR No. 643 656.2)
Installation of the nutation box (N˚_x0011_PR_x0011_643_x0011_656.1 and N˚_x0011_PR_x0011_643_x0011_65
Removing the nutation housing (N˚ PR 637 534.0)
Disassembly of the nutation housing (PR No. 637 534.0)
Nutation Housing Assembly (PR No. 637 534.0)
Installation of the nutation box (N˚ PR 637 534.0)
Removing the Blade Drive Idler Pulley (40)
Exploded view of blade drive idler pulley (40)
Installing the blade drive tensioner pulley (40)
Removing the Blade Drive Belt Tensioner Pulleys (40)
Exploded view of the blade drive tensioner pulley (40)
Exploded view of the blade drive tensioner pulley (40)
Installing the blade drive tensioner pulleys (40)
Feed drum
Drum drive _x0004_feed
Removing the feed drive chain_x0011_(41)
Installing and adjusting the feed drive chain (41)
Removing the Feed Drum Torque Limiter
Exploded view of the torque limiter for feed auger
Installing thrque limiter for the feed screw
Feed drum
Removing the left bearing of the feed drum _x0004_
Exploded view of the left bearing of the feed drum_x0011_
Installation of the le bearing of the feed drum_x0011_
Removing the Left Feed Drum Drive Shaft
Installing the Left Feed Drum Drive Shaft
Removing the right bearing from the feed drum_x0011_
Exploded view of the right bearing of the feed drum_x0011_
Installation of the right bearing of the feed drum_x0011_
Removing the right feed drum_x0011_flange
Installing the right flange of the feed drum_x0011
Removing the adjustment shaft
Installing the adjustment shaft
Removing the adjustment shaft
Installing the control shaft
Removing the reel fingers
Installing the feed drum fingers
Removing the Feed Drum
Installing the feed drum
Reel drive belt / drive chains
Removing the drive chain from the_x0011_rebatteur_x0011_(42)
Installation and adjustment of the drive chain of the_x0011_rabatteur_x0011_(42)
Removing the drive chain from the_x0011_rebatteur_x0011_(46)
Installation and adjustment of the drive chain of the_x0011_rabatteur_x0011_(46)
Removing the drive chain sprocket from the_x0011_rabatteur_x0011_(46)
Installation of the drive chain sprocket of the_x0011_rabatteur_x0011_(46)
Removing the reel drive belt_x0011_(43)
Installing the reel drive belt_x0011_(43)
Reel drive cardan shaft / angle gearbox
Removing the reel drive cardan shaft with friction coupling
Disassembly of the reel drive cardan shaft with friction coupling
Exploded view of the reel drive cardan shaft with friction coupling_x0011_:
Reel drive cardan shaft assembly with friction coupling
Installation of the reel drive cardan shaft with friction coupling
Replacing the friction linings of the reel drive cardan shaft with arm…
Fitting the friction linings of the reel drive cardan shaft with coupling…
Adjusting the torque limiter
Removing the angle gearbox at the rear
Disassembly of the rear angle transmission housing
Exploded view of the rear angle transmission box_x0011_:
Assembling the rear angle transmission housing
Mounting the rear angle transmission box
Removing the front angle transmission housing
Disassembly of the front angle transmission housing
Exploded view of the front corner gear box_x0011_:
Assembling the front angle transmission housing
Mounting the front angle transmission box
Electrical adjustment of reel speed
Removing the electric variator pulley from the reel
Exploded view of the electric variator pulley du_x0011_rebatteur
Installation of the electric variator pulley of the reel
Removal of the electrical reel speed adjustment (up to machine No.)
Disassembly of the electrical adjustment of the reel speed (up to machine No.)
Assembling the electrical adjustment of the reel speed (up to machine No.)
Installation of the electrical adjustment of the reel speed (up to machine No.)
Removal of the electrical reel speed adjustment (up to machine No.)
Exploded view of the electrical adjustment of the reel speed (from machine No.)
Installation of the electrical adjustment of the reel speed (from machine No.)
Removing the variator bearing tube du_x0011_rabatteur
Exploded view of the bearing tube of the variator du_x0011__x0004_rebatteur
Assembly and installation of the reel _x0004_variator bearing tube
Removing the variator pulley from the spring reel
Exploded view of the spring reel variator pulley
Installing the spring variator pulley of the _x0004_reel
Reel Removal
Installation of the reel
Reel height adjustment (Basic adjustment)
Exploded view of the reel
Reel Bearing Removal
Installing the reel bearing
Removing the control rollers
Installing the control rollers
Checking and adjusting the control roller raceway
Removal of the right outer star of the_x0011_reel
Installation of the right outer star of the reel
Removing the left exterior control star
Installation of the external control star_x0011_left
Removing the outer reel star_x0011_left
Installation of the left outer star of the_x0011_retractor
Removal of the reel shaft (for 7.50 m)
Installation of the reel shaft (for 7.50 m)
Removing the central reel star
Installation of the central star of the reel
Hydraulic / Electric
Hydraulic distributors
Removing the cutting deck control valve block
Exploded view of the distributor blocks of the _x0004_cutting deck control
Assembly and installation of the cutting deck control distributor block
Replacement of check valve
Removing the 2-way 2-position distributor _x0004_ lowering the reel (Y23)
Exploded view of the 2-way 2-position distributor _x0004_reel descent (Y23)
Installation of the 2-way 2-position distributor _x0004_ lowering of the reel (Y23)
Removal of the 3-way distributor 2 positions reel retraction (Y25)
Exploded view of the 3-way 2-position reel reel distributor (Y25)
Installation of the 3-way distributor 2 reel withdrawal positions (Y25)
Removing the rewind distributor stop block from the_x0011_retractor (Y25)
_x0004_Disassembly of the distributor stop block of the_x0011_reel recoil (Y25)
Exploded view of the reel recoil distributor stop block (Y25)_x0011_:
Assembling the reel distributor stop block assembly (Y25)
Installation of the stop block of the recoil distributor du_x0011_rabatteur_x0011_(Y25)
Hydraulic cylinder
Removing the left hydraulic cylinder for height adjustment of the double-acting reel
Disassembly of the left hydraulic cylinder of the double-acting reel height adjustment
Exploded view of the left double-acting hydraulic height adjustment cylinder_x0011_ of the reel_x0011_:
Assembly of the left hydraulic cylinder for height adjustment of the double-acting reel
Installation of the left hydraulic cylinder for height adjustment of the double-acting reel
Removing the right hydraulic cylinder for height adjustment of the single-acting reel
Disassembly of the single-acting right-hand reel height adjustment hydraulic cylinder
Exploded view of the right hydraulic cylinder for height adjustment of the single-acting reel_x0011_:
Assembly of the right hydraulic cylinder for height adjustment of the single-acting reel
Installation of the right hydraulic cylinder for height adjustment of the single-acting reel
Removing the hydraulic cylinder for horizontal adjustment of the reel
Disassembly of the reel height adjustment hydraulic cylinder
Exploded view of the hydraulic cylinder for horizontal adjustment of the reel_x0011_:
Assembling the hydraulic cylinder for horizontal adjustment of the reel
Installation of the hydraulic cylinder for horizontal adjustment of the reel
Removing the hydraulic cylinder from the VARIO table
Disassembly of the hydraulic cylinder of the VARIO table
Exploded view of the VARIO_x0011_ table hydraulic cylinder:
Assembling the hydraulic cylinder of the VARIO table
Installation of the hydraulic cylinder of the VARIO table
Hydraulic motors/pumps
Removing the side blade hydraulic pump for rapeseed
Installation of the hydraulic pump of the side blade_x0011_colza
John Deere Repair Technical Manual PDF


John Deere Repair Technical Manual PDF
John Deere Transmission Control Unit Component Technical Manual CTM157 15JUL05


John Deere Repair Technical Manual PDF
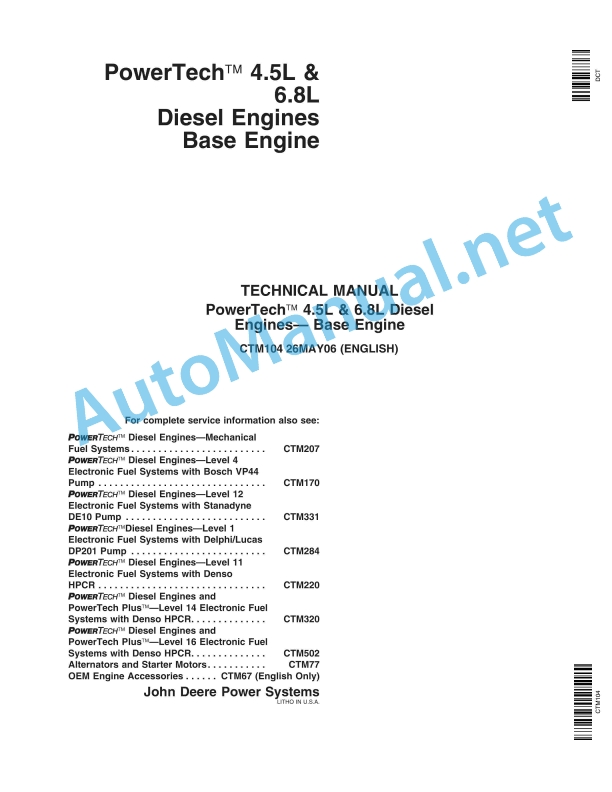
John Deere POWERTECH E 4.5 and 6.8 L Diesel Engines TECHNICAL MANUAL 25JAN08


%20Combines%20Repair%20Manual%20FR&url=https://automanual.net/doc/claas-v1050-v540-vario-lexion-tucano-716-combines-repair-manual-fr/&media=https://automanual.net/wp-content/uploads/2024/04/claas-v1050-v540-vario-lexion-tucano-716-combines-repair-manual-fr-1.jpg)

John Deere Repair Technical Manual PDF
John Deere Repair Technical Manual PDF


John Deere Repair Technical Manual PDF
John Deere Application List Component Technical Manual CTM106819 24AUG20


John Deere Repair Technical Manual PDF


John Deere Repair Technical Manual PDF
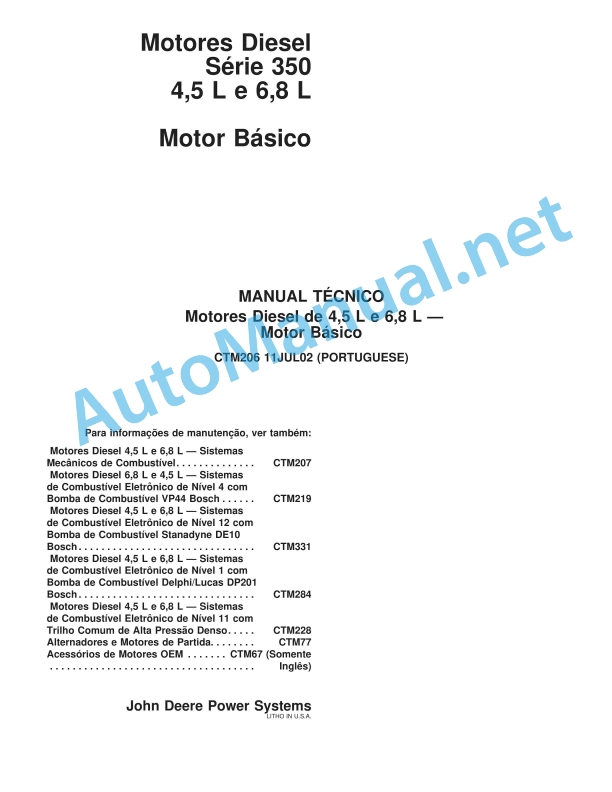
John Deere Diesel Engines PowerTech 4.5L and 6.8L – Motor Base Technical Manual 07MAY08 Portuguese
- Claas
- Grove
- New Holland
- Komatsu
- Kubota
- John Deere
- Linde
- Bomag
- CASE
- Clark
- JCB
- Jungheinrich
- Linde
- Yale
- Yanmar
- Manitou
- Manitowoc
- CNH
- Doosan
- Fiatagri
- Fiatallis
- Fiatallis Other Manual PDF
- Flexi Coil
- Ford New Holland
- Ford New Holland Other Manual PDF
- Huyndai
- Hypac
- Hyster
- Hyster Service Manual PDF
- Isuzu
- Kobelco
- Kohler
- Krupp
- Lombardini
- Mahindra
- Nuvera
- Perkins
- Sperry New Holland
- Utilev
- Versatile
- ZF