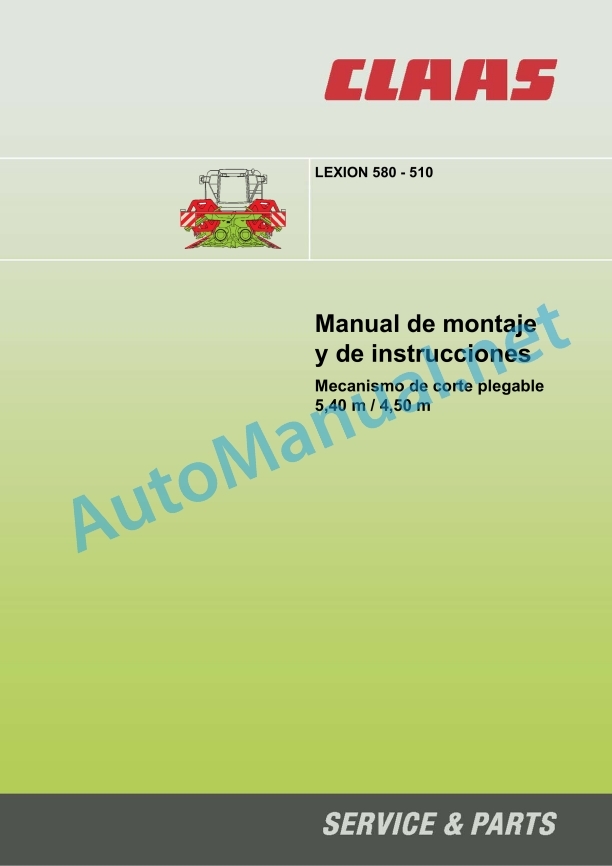
Claas C540-C450 Rabatabil Lexion (706) Combines Operator Manual ES
$50.00
- Model: C540-C450 Rabatabil Lexion (706) Combines
- Type Of Manual: Operator Manual
- Language: ES
- Format: PDF(s)
- Size: 3.4 MB
File List:
00 0299 849 1.pdf
00 0299 849 1.pdf:
Introduction
Introduction
General indications
Circulation permit
important note
Identification plate/serial number
Security measures
Security measures
Safety supports
Carrier Safety Support
Reel safety support
Safety decals with warning symbols
Technical data
Weights / Measurements / Safety device
Additional weights
Before start-up
To be carried out before the first start-up
Driving lighting / cutting mechanism cylinder
Driving lighting in road traffic
Switch driving lights (up to machine number…)
Switch driving lights (from machine number…)
Light bar on the cutting mechanism
Remove the transport support
Third cylinder of the cutting mechanism
Adjust the cutting mechanism discharge springs
Additional equipment
Driving lighting – additional headlights
Install additional headlights and switch device
mthe pushbuttons for the switch device
Install the additional headlights on both sides
Adjust the auxiliary driving lights
Cutting mechanism skid
Adjust the cutting mechanism skid
Cutting angle adjustment
Adjust cutting angle
Install the distance support
Assemble the retaining parts
Fix the retaining pins after mounting the
Release the retaining pins before removing the cutting mechanism
Assemble the axle extensions
Install the shaft extension on the intermediate shaft (LEXION 530 – 510)
Assemble the cutting mechanism
Tip the cutting deck from the transport position
Assembling and disassembling the cutting mechanism
Assembling the cutting mechanism – folding – (cutting mechanism in transport position)
Fix the cutting mechanism on both sides from above and below
Connect the quick coupler
Move the cutting mechanism from the transport position to the working position
Assembling the LEXION MONTANA cardan shafts (from machine number 71300231)
Dismantle the standard cardan shafts
Install the cardan shaft for LEXION MONTANA
Move the cutting mechanism from working position to transport position
Align the cutting mechanism / remove the cutting mechanism
Align the cutting mechanism (Machines without Auto-Contour)
Disassemble the cutting mechanism
Cutting mechanism adjustments
harvest dividers
Exterior divider
Adjusting the crop dividers
harvest lifters
cutting blade
Blade disassembly
Blade assembly
Blade height adjustment
Blade Guide Alignment
Replacement blade
Pinwheel
Reel Lift Adjustment
Precision adjustment of reel height
Reel drive
Horizontal reel adjustment
Feed auger
Setting the distance to the bottom plate
Feed auger height adjustment
Adjust the position of the feed fingers
Safety device
Cutting table skids
Incidents, possible causes and solutions
Maintenance
Maintenance and lubricant charts
Maintenance table
Lubricants table
Gears for blade drives
Elastic cylinder / Drive chains / Single contact
Adjust the elastic cylinder for the blade drives
Tension the drive chains
Tension the reel drive chain
Clean the locking cylinder rails
Generalities
Adjust double fingers
Adjust Reel End Switch
Adjust the ratchet on the center guide of the reel
Clean the free spaces in the support arm supports
Clean the area of the retaining pins
Tips for conservation during winter
Greasing scheme
Lubricants and indications
Alphabetical index
Alphabetic
John Deere Repair Technical Manual PDF
John Deere Repair Technical Manual PDF
John Deere Repair Technical Manual PDF
John Deere Parts Catalog PDF
John Deere Tractors 6300, 6500, and 6600 Parts Catalog CQ26564 (29SET05) Portuguese
John Deere Repair Technical Manual PDF
John Deere Repair Technical Manual PDF
John Deere PowerTech M 10.5 L and 12.5 L Diesel Engines COMPONENT TECHNICAL MANUAL CTM100 10MAY11
John Deere Repair Technical Manual PDF
John Deere Repair Technical Manual PDF


