Claas Dominator 130 68 S (156) Combines Assembly Instruction EN
$50.00
- Model: Dominator 130 68 S (156) Combines
- Type Of Manual: Assembly Instruction
- Language: EN
- Format: PDF(s)
- Size: 47.9 MB
File List:
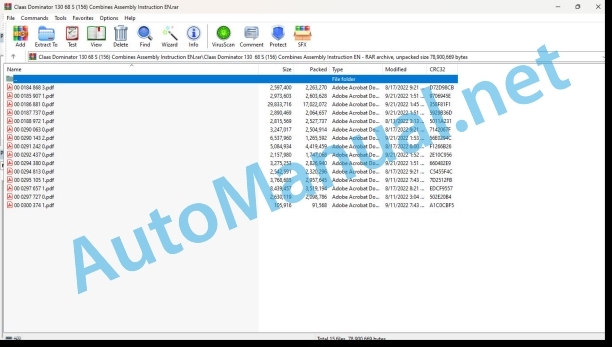
00 0184 868 3.pdf
00 0185 907 1.pdf
00 0186 881 0.pdf
00 0187 737 0.pdf
00 0188 972 1.pdf
00 0290 063 0.pdf
00 0290 143 2.pdf
00 0291 242 0.pdf
00 0292 437 0.pdf
00 0294 380 0.pdf
00 0294 813 0.pdf
00 0295 105 1.pdf
00 0297 657 1.pdf
00 0297 727 0.pdf
00 0300 374 1.pdf
00 0184 868 3.pdf:
1 Introduction
1.1 General information
1.1.1 Handling the instructions
1.1.2 Validity of the instructions
2 Security
2.1 Note
2.1.1 Particular attention should be paid
2.1.2 Labeling of warnings and danger notices
3 scope of delivery
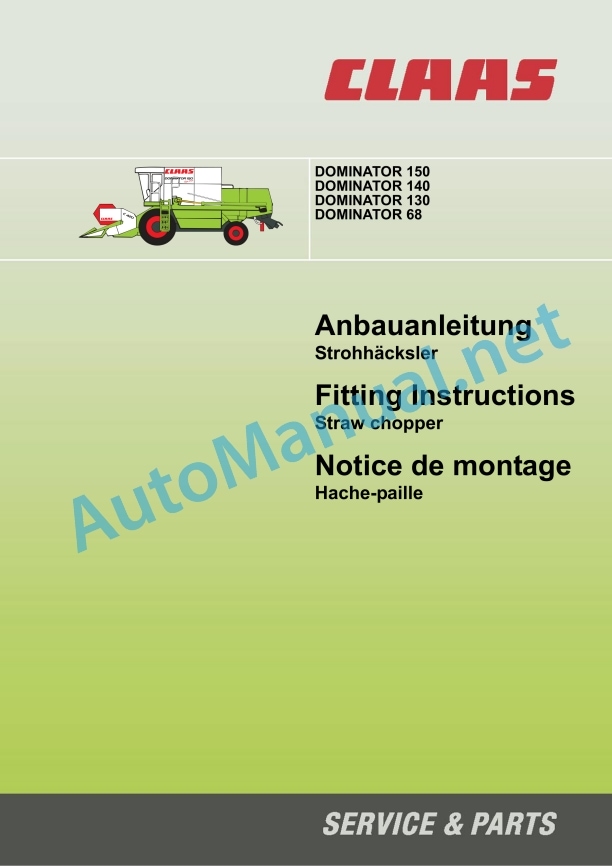
3.1 Straw chopper
3.1.1 Retrofit kit 009 100 157 6
4 Cultivation
4.1 Straw chopper
4.1.1 Put the machine out of operation
4.1.2 Install straw chopper
1 Introduction
1.1 General information
1.1.1 How to use this manual
1.1.2 Validity of instructions
2 Safety precautions
2.1 Important
2.1.1 Important information
2.1.2 Identification of warning and danger signs
3 Package list
3.1 Straw chopper
3.1.1 Supplementary kit 009 100 157 6
4 fittings
4.1 Straw chopper
4.1.1 Putting the machine out of action
4.1.2 Fitting the straw chopper
1 Introduction
1.1 General Councils
1.1.1 Utilization of the notice
1.1.2 Validity of the notice
2 Security Councils
2.1 Observer
2.1.1 Important
2.1.2 Marquage of avertissements and dangers
3 pieces fournies
3.1 Hache-paille
3.1.1 Jeu de assembly ultrieur 009 100 157 6
4.1 Hache-paille
4.1.1 Eteindre la machine
4.1.2 Pose du hache-paille
00 0185 907 1.pdf:
1 Introduction
1.1 General information
1.1.1 Handling the instructions
1.1.2 Validity of the instructions
2 Security
2.1 Note
2.1.1 Particular attention should be paid
2.1.2 Labeling of warnings and danger notices
3 scope of delivery
3.1 Bagging stand
3.1.1 Accessory pack 000 548 577 0
4 Assembly
4.1 Bagging stand
4.1.1 Assemble the bagging stand
4.1.2 Install sun rofs
4.1.3 Insthe electrical system
4.1.4 Install driving lights and accessories
4.1.5 Prepare and carry out a test run
1 Introduction
1.1 General information
1.1.1 How to use this manual
1.1.2 Validity of instructions
2 Safety precautions
2.1 Important
2.1.1 Important information
2.1.2 Identification of warning and danger signs
3 Package list
3.1 Bagging platform
3.1.1 Pack joint 000 548 577 0
4 Assembly
4.1 Bagging platform
4.1.1 Assembling the bagging platform
4.1.2 Installing the sun roofs
4.1.3 Installing the electrical system
4.1.4 Fitting the drive lights and accessories
4.1.5 Prepare and carry out a test run
1 Introduction
1.1 General Councils
1.1.1 Utilization of the notice
1.1.2 Validity of the notice
2 Security Councils
2.1 Observers!
2.1.1 Important
2.1.2 Marquage of avertissements and dangers
3 pieces fournies
3.1 Plate forme d’ensachage
3.1.1 Additional packaging 000 548 577 0
4 assemblage
4.1 Plate forme d’ensachage
4.1.1 Assemblage of the ensachage plateform
4.1.2 Pose of the toits pare-soleil
4.1.3 Pose of the electrical circuit
4.1.4 Pose of the clairage and accessories
4.1.5 Prepare a functional test and implement it
00 0188 972 1.pdf:
Anbauanleitung
Sonnenblumen-Vorsatz
Instructions
Besons on the beach
Kennzeichnung von Warn- und Gefahrenhinweisen
Bestimmungsgeme Verwendung
Lieferumfang
Sonnenblumen-Vorsatz anbauen
Sicherheitssttzen
Schrgfrderer-Sicherheitssttze
Haspel-Gitterbleche einbauen
Steuerstern ausbauen (Haspelantrieb links)
Haspel-Zinkenabdeckung anbauen
Haspel-Antriebskette auflegen und spannen
Halmteiler und Schiffchen anbauen
Fitting instructions
Sunflower attachment
Introduction
Table of contents
Important information
Identification of warning and danger signs
Correct use
Shipping package
Fitting the sunflower attachment
Safety locks
Feixing plates
Removing the control star (LH reel drive)
Attaching the reel tine cover
Fitting and tightening the reel drive chain
Fitting the divider and seed pan
Installation instructions
Sunflower front accessory
Introduction
Contents
Important
Marking of warnings and dangers
Use in accordance with instructions
Parts supplied
Assembly of front equipment for sunflower
Safety crutches
Conveyor safety stand
Installation of the perforated reel plates
Removing the control ring (left reel drive)
Installing the reel finger cover
Installing and tensioning the reel drive chain
Installing the divider and shuttle
00 0294 380 0.pdf:
1 Instructions
1.1 Allgemeine Hinweise
1.1.1 Handling of the connection
1.1.2 Instructions of the connection
2 Sicherheit
2.1 Beachten
2.1.1 Sonders on the beach
2.1.2 Kennzeichnung von Warn- und Gefahrenhinweisen
3 Lieferumfang
3.1 Functions
3.1.1 Nachrustsatz 91001775
4.1 Functional specifications
4.1.1 Functions of current signals
4.1.2 Functions of the switch
4.1.3 Functions of the circuit breaker anbauen
4.1.4 Functions of the upper voltage regulator
4.1.5 Summer (30) anbauen
4.1.6 Cables (32), Module (38) and Switches (39) in the Zentralektrik anbauen
4.1.7 All industrial uses
4.1.8 Probelauf vorbereiten und durchfhren
1 Introduction
1.1 General Information
1.1.1 How to use this manual
1.1.2 Validity of instructions
2 Safety precautions
2.1 Important
2.1.1 Important information
2.1.2 Identification of warning and danger signs
3 Package list
3.1 Function monitor
3.1.1 Supplementary kit 91001775
4 Mounting
4.1 Installing the function monitor
4.1.1 Fitting the feed rake conveyor function monitor
4.1.2 Installing the straw walker function monitor
4.1.3 Installing the grain elevator function monitor
4.1.4 Installing the returs elevator function monitor
4.1.5 Installing tzzer (30)
4.1.6 Installing the wiring loom (32), modules (38) and remote control relay (39) in the central terminal compartment
4.1.7 Adjusting all magnetic pick-ups
4.1.8 Prepare and carry out a test run
1 Introduction
1.1 General advice
1.1.1 Use of the instructions
1.1.2 Validity of the notice
2 Safety Tips
2.1 Observe!
2.1.1 Important
2.1.2 Marking of warnings and dangers
3 pieces supplied
3.1 Function controller
3.1.1 Modification kit 91001775
4 Assembly
4.1 Installation of the function controller
4.1.1 Installation of the power channel function controller
4.1.2 Installation of the shaker function controller
4.1.3 Installation of the grain elevator function controller
4.1.4 Installation of the elevator function controller
4.1.5 Installing the vibrator (30)
4.1.6 Installation of the cable set (32), the modules (38) and the on-off relay (39) on the main electrical system
4.1.7 Set all inductive sensors
4.1.8 Prepare a test operation and carry it out
1 Introduction
1.1 General information
1.1.1 Using the instructions
1.1.2 Validate the instructions
2 Safety meds
2.1 Observer
2.1.1 Especially important
2.1.2 Signaling warnings and warnings
3 Suministro Set
3.1 Function controller
3.1.1 Retrofit kit 91001775
4 Montaje
4.1 Turn on the function controller
4.1.1 Switch on the power channel function controller
4.1.2 Switch on the sacudidores function controller
4.1.3 Switch on the grain elevator function controller
4.1.4 Switch on the return elevator function controller
4.1.5 Montar el zumbador (30)
4.1.6 Connect the set of cables (32), the modules (38) and the remote control relay (39) to the central electrical system
4.1.7 Adjust all monocontacts
4.1.8 Prepare and carry out a preview of the operation
1.1.1 an
3.1.1 91001775
4.1.1 Heater
4.1.1 Installing the cab heater
1 Introduction
1.1 General Councils
1.1.1 Utilization of the notice
1.1.2 Validity of the notice
2 Security Councils
2.1 Observer
2.1.1 Important
2.1.2 Marquage of avertissements and dangers
3 pieces fournies
3.1 Chauffage de cabine
3.1.1 Jeu de assembly ultrieur 91013535
4.1 Chauffage de cabine
4.1.1 Pose of the cabin chauffage
1.1.1 ? 1.1.2 ?
John Deere Repair Technical Manual PDF
John Deere Repair Technical Manual PDF
John Deere Repair Technical Manual PDF
John Deere Repair Technical Manual PDF
John Deere Repair Technical Manual PDF
John Deere Parts Catalog PDF
John Deere Tractors 6300, 6500, and 6600 Parts Catalog CQ26564 (29SET05) Portuguese
John Deere Parts Catalog PDF
John Deere Tractors 7500 Parts Catalog CPCQ26568 30 Jan 02 Portuguese
John Deere Repair Technical Manual PDF
John Deere Diesel Engines PowerTech 4.5L and 6.8L – Motor Base Technical Manual 07MAY08 Portuguese
John Deere Repair Technical Manual PDF
John Deere 16, 18, 20 and 24HP Onan Engines Component Technical Manual CTM2 (19APR90)

