


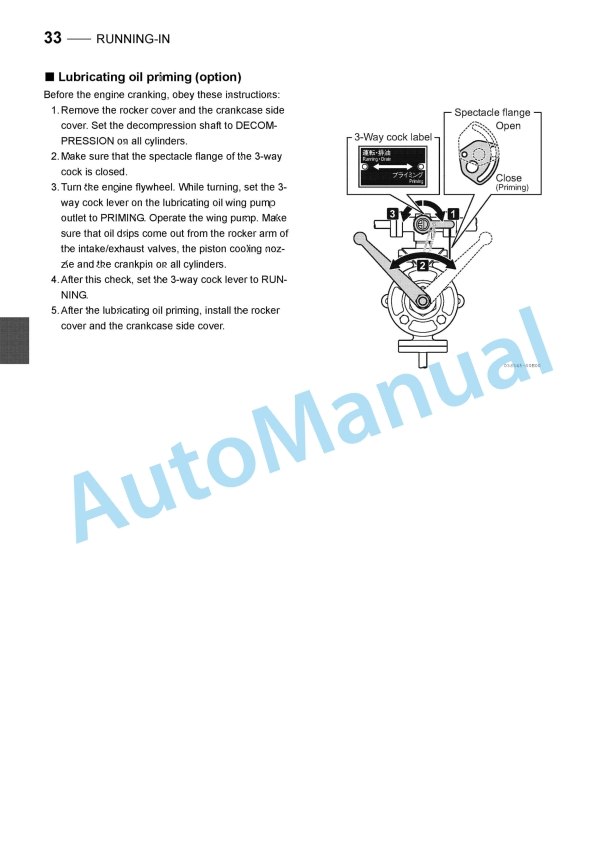
Yanmar Operator Manual PDF
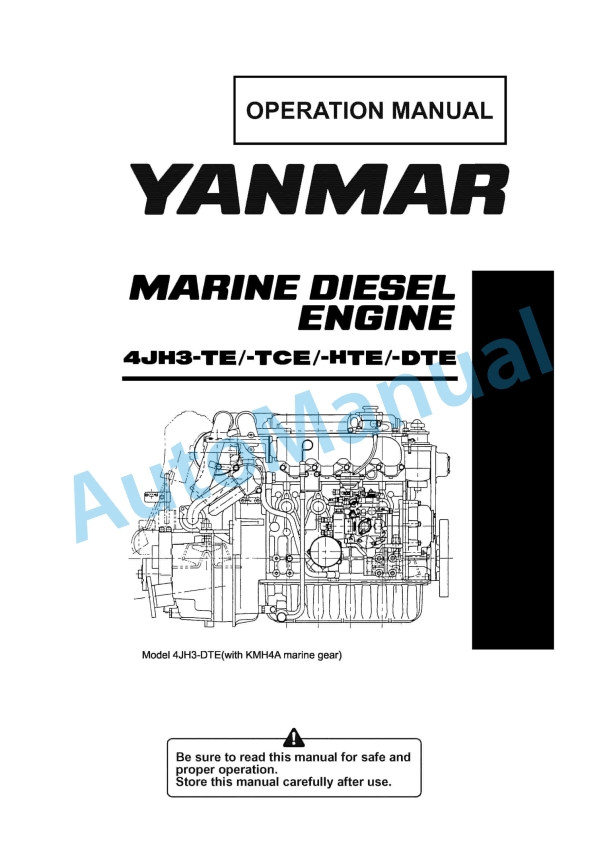
Yanmar 4JH3-TE, 4JH3-TCE, 4JH3-HTE, 4JH3-DTE Marine Diesel Engine Operation Manual
$20.00
Yanmar Operator Manual PDF
Yanmar 4CHL-N, 4CHL-TN, 6CHL-N, 6CHL-TN, 6CHL-HTN Marine Auxiliary Engine Operation Manual
$20.00
Yanmar Operator Manual PDF
Yanmar 4TNE92, 4TNE94L, 4TNE98 Industrial Engine Operation Manual 0ATNE-G00102
$20.00
Yanmar Operator Manual PDF
Yanmar 2TNV70 to 4TNV106T Industrial Engine Operation Manual 0ATNV-G00101
$20.00
Yanmar Operator Manual PDF
Yanmar 4LHA-HT(Z)P, 4LHA-DT(Z)P, 4LHA-ST(Z)P Marine Diesel Engine Operation Manual
$20.00
P,%204LHA-DT(Z)P,%204LHA-ST(Z)P%20Marine%20Diesel%20Engine%20Operation%20Manual&url=https://automanual.net/doc/yanmar-4lha-htzp-4lha-dtzp-4lha-stzp-marine-diesel-engine-operation-manual/&media=https://automanual.net/wp-content/uploads/2026/01/yanmar-4lha-htzp-4lha-dtzp-4lha-stzp-marine-diesel-engine-operation-manual-1.jpg)