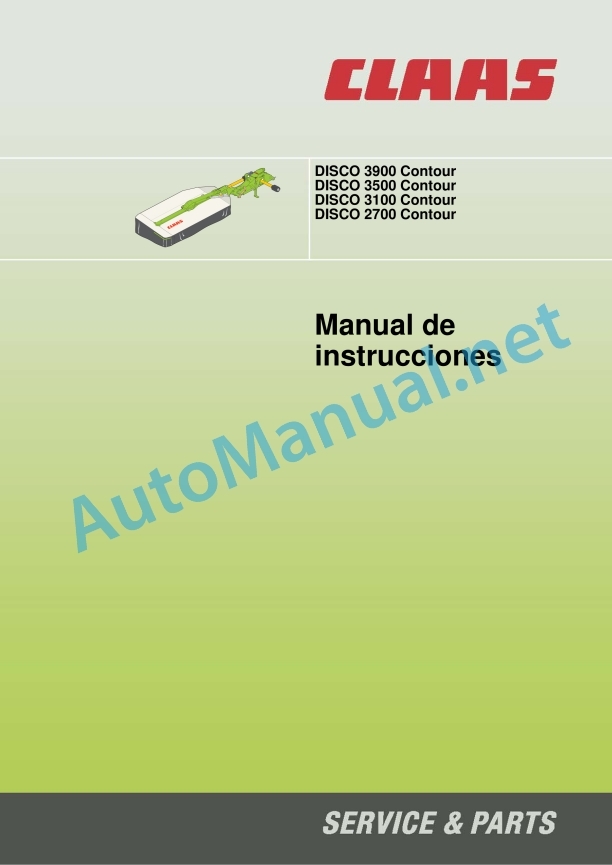
Claas Disco 2700 (617) Mower Operator Manual ES
$50.00
- Model: Disco 2700 (617) Mower
- Type Of Manual: Operator Manual
- Language: ES
- Format: PDF(s)
- Size: 10.3 MB
File List:
00 0295 059 5.pdf
00 0295 059 5.pdf:
DISC 3900 Contour
DISC 3500 Contour
DISC 3100 Contour
DISC 2700 Contour
1 Regarding this instruction manual
1.1 Information regarding the instruction manual
1.1.1 General instructions
1.1.2 Manual handling
Direction signs
1.1.3 Validity of the manual
1.1.4 Symbols and indications
1.1.5 Technical instructions
2 Security
2.1 Safety instructions
2.1.1 To take special account
2.1.2 Qualification of piloting and maintenance personnel
2.1.3 Proper machine application
2.1.4 Logically foreseeable inappropriate application
2.1.5 Protection and safety standards at work
2.1.6 First aid measures
2.1.7 Risk of injury from hydraulic fluids
2.2 Safety instructions on the machine
2.2.1 Warning symbols
2.2.2 Position of warning symbols
3 Machine Description
3.1 Summary and operation
3.1.1 Summary DISC 3900 / 3500 / 3100 / 2700
3.1.2 DISC 3900 / 3500 / 3100 / 2700 operating mode
3.2 Optional machine equipment
3.2.1 High cut skates
3.2.2 Screw-on wear pads
3.2.3 Insertable fork for cardan shaft 8 components
3.2.4 Insertable fork for cardan shaft 21 components
3.2.5 3-component connection parts for hydraulic installation
3.2.6 Crash protection and crash bar
3.2.7 Hydraulically foldable crash bar
3.2.8 External swath disc
3.2.9 Internal swath disc
3.2.10 Inner swath plate
3.2.11 Legal equipment
3.2.12 Legal equipment France
3.2.13 Legal equipment Switzerland
3.3 Identification plate and vehicle identification number
3.3.1 Spare parts and technical queries
3.3.2 Identification plate position
3.3.3 Identification number position
3.3.4 Explanation of machine nameplate
4 Control and display instruments
4.1 Hydraulic installation
4.1.1 Hydraulic hose
4.2 Mower unit
4.2.1 Traction cables
4.2.2 Adjustment help
4.3 Mounting frame
4.3.1 Pressure gauge
4.3.2 Support leg
5 Technical data
5.1 DISC 3900 Contour – type 999
5.1.1 Measurements
5.1.2 Weights
5.1.3 Requirements for the tractor
5.1.4 Model
5.1.5 Acoustic intensity level
5.1.6 Lubricants
5.2 DISC 3500 Contour – type 619
5.2.1 Measurements
5.2.2 Weights
5.2.3 Requirements for the tractor
5.2.4 Model
5.2.5 Acoustic intensity level
5.2.6 Lubricants
5.3 DISC 3100 Contour – type 618
5.3.1 Measurements
5.3.2 Weights
5.3.3 Requirements for the tractor
5.3.4 Model
5.3.5 Acoustic intensity level
5.3.6 Lubricants
5.4 DISC 2700 Contour – type 617
5.4.1 Measurements
5.4.2 Weights
5.4.3 Requirements for the tractor
5.4.4 Model
5.4.5 Acoustic intensity level
5.4.6 Lubricants
6 Preparation of the machine
6.1 Prepare the tractor
6.1.1 Axle loads, minimum counterbalance, total weight
6.1.2 Calculate the minimum front counterbalance
6.1.3 Calculate the minimum rear counterweight
6.1.4 Calculate the actual front axle load
6.1.5 Calculate the actual total weight
6.1.6 Calculate the real rear axle load.
6.1.7 Calculation table
6.2 Turn off the machine and secure it
6.2.1 Turn off the machine and secure it
6.2.2 Secure the lifted machine
6.3 Adapt the machine
6.3.1 Adapt the lower bar bolt
6.3.2 Adapt the bottom bar category
6.3.3 Adapt the arm category of the third point
6.3.4 Cardan shaft – check the length
6.3.5 Cardan shaft – adapt the length
6.3.6 Mount the cardan shaft to the machine
6.4 Hooking up the machine
6.4.1 Attach the coupling frame
6.4.2 Mount the cardan shaft
6.4.3 Connect the hydraulic pipes
6.4.4 Connect the electrical installation
6.4.5 Place the pull ropes
6.4.6 Place the support leg upwards
6.5 Unhooking the machine
6.5.1 Prepare for disassembly
6.5.2 Remove the support leg
6.5.3 Remove the pull ropes
6.5.4 Uncouple the hydraulic pipes
6.5.5 Unplug the electrical installation
6.5.6 Dismantle the cardan shaft
6.5.7 Unhooking the coupling frame
6.6 Machine loading
6.6.1 Load/unload the machine
7 Management
7.1 General security measures
7.1.1 Take into account before handling
7.2 Driving on the road
7.2.1 Road traffic
7.2.2 Machine marking for road traffic
7.3 Settings for use at work
7.3.1 Adjust the docking frame
7.3.2 Adjust mower discharge
7.3.3 Adjust cutting height
7.3.4 Adjusting the outer swath disc
7.3.5 Fixing the crash protection
7.3.6 Retension crash protection
7.4 Use at work
7.4.1 Take into account during field trips
7.4.2 Turn to working position
7.4.3 Place in transport position
7.4.4 Using the machine
7.4.5 Adapt the power take-off speed
7.4.6 Mowing technique
7.4.7 Position at the ends of the plot
7.4.8 Instructions on mowing
7.4.9 Difficult harvest conditions
7.4.10 Recommendation regarding environmental protection
8 Incident and solution
8.1 Incident summary
8.1.1 Incidents on the machine
9 Maintenance
9.1 Maintenance instructions
9.1.1 General warning instructions
9.1.2 Electrical equipment
9.1.3 Protection devices
9.1.4 Spare parts
9.1.5 Imbalance
9.1.6 Pressurized air and water
9.1.7 Prevention against burns
9.1.8 Oil
9.1.9 Prevention against fires and explosions
9.1.10 Pipes, tubes and hoses
9.2 Summary of maintenance intervals
9.2.1 Behavior with maintenance intervals
9.2.2 Before starting the harvest
9.2.3 After the first 50 hours of service
9.2.4 Every 8 hours of service
9.2.5 Every 20 hours of service
9.2.6 Every 100 hours of service
9.2.7 Every 250 hours of service
9.2.8 Every 500 hours of service or annually
9.2.9 Every 5 years
9.2.10 If necessary
9.2.11 After harvest
9.3 General maintenance work
9.3.1 Clean the machine
9.3.2 Maintain the machine
9.3.3 Check the fixing material
9.4 Gears
9.4.1 Check the tightness of the gear
9.4.2 Main gear: Check the oil level
9.4.3 Main gear: Change the oil
9.4.4 Bevel gear: Check the oil level
9.4.5 Bevel gear: Change the oil
9.5 Clutches
9.5.1 Check the overload clutch
9.5.2 Ventilate the friction clutch
9.5.3 Check the friction discs
9.6 Cardan shaft
9.6.1 Maintain the cardan shafts
9.7 Hydraulic installation
9.7.1 Carry out maintenance on the hydraulic installation
9.7.2 Check the hydraulic hoses
9.7.3 Check the pressure accumulator
9.7.4 Dismantle the lifting cylinder
9.7.5 Assemble discharge cylinder
9.8 Mowing device
9.8.1 Cutter bar: Check the oil level
9.8.2 Cutter bar: Change the oil
9.8.3 Remove the mower blade box
9.8.4 Mower discs: Take into account the direction of rotation
9.8.5 Remove the mounting lever
9.8.6 Check the mower blades
9.8.7 Change the blades
9.8.8 Check the mower blade support
9.8.9 Check the mower discs
9.8.10 Change the mower discs
9.8.11 Assembling the bevel pinion units
9.8.12 Conveyor drum: Install the sealing disc
9.8.13 Adjusting the winding protection
9.8.14 Adjust the protection device
Protective canvas support, front
Rear protective cover support
External protective canvas support
9.9 Attached parts, machine housing
9.9.1 Marking of pressure gauge, adjustment aid, machine frame and arm
9.9.2 Assemble the arm
9.9.3 Outgoing arm: Grease the bolt
9.9.4 Install the shock absorber
9.10 Greasing scheme
9.10.1 Grease the lubrication points every 8 hours of service
9.10.2 Grease the lubrication points every 20 hours of service
9.10.3 Grease the lubrication points every 100 hours of service
9.10.4 Grease the lubrication points every 250 hours of service
10 Decommissioning and waste disposal
10.1 General data
10.1.1 Decommissioning and waste disposal
11 EU declaration of conformity
11.1 DISC 3900 / 3500 / 3100 / 2700 Contour
11.1.1 EC declaration of conformity
12 Technical dictionary and abbreviations
12.1 Terms and explanations
12.1.1 Technical vocabulary
12.1.2 Abbreviations
John Deere Repair Technical Manual PDF
John Deere Repair Technical Manual PDF
John Deere DF Series 150 and 250 Transmissions (ANALOG) Component Technical Manual CTM147 05JUN98
John Deere Repair Technical Manual PDF
John Deere Repair Technical Manual PDF
John Deere POWERTECH E 4.5 and 6.8 L Diesel Engines TECHNICAL MANUAL 25JAN08
John Deere Repair Technical Manual PDF
John Deere Repair Technical Manual PDF
John Deere Repair Technical Manual PDF
John Deere Repair Technical Manual PDF
John Deere PowerTech M 10.5 L and 12.5 L Diesel Engines COMPONENT TECHNICAL MANUAL CTM100 10MAY11
John Deere Repair Technical Manual PDF


