Claas Cougar 1400 Mahtechnik (788) Mower Repair Manual EN
$300.00
- Model: Cougar 1400 Mahtechnik (788) Mower
- Type Of Manual: Repair Manual
- Language: EN
- Format: PDF(s)
- Size: 15.5 MB
File List:
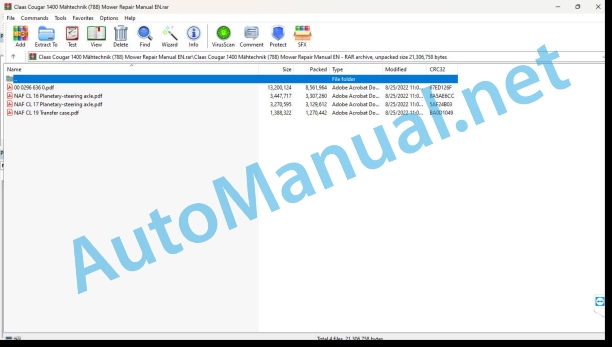
00 0296 636 0.pdf
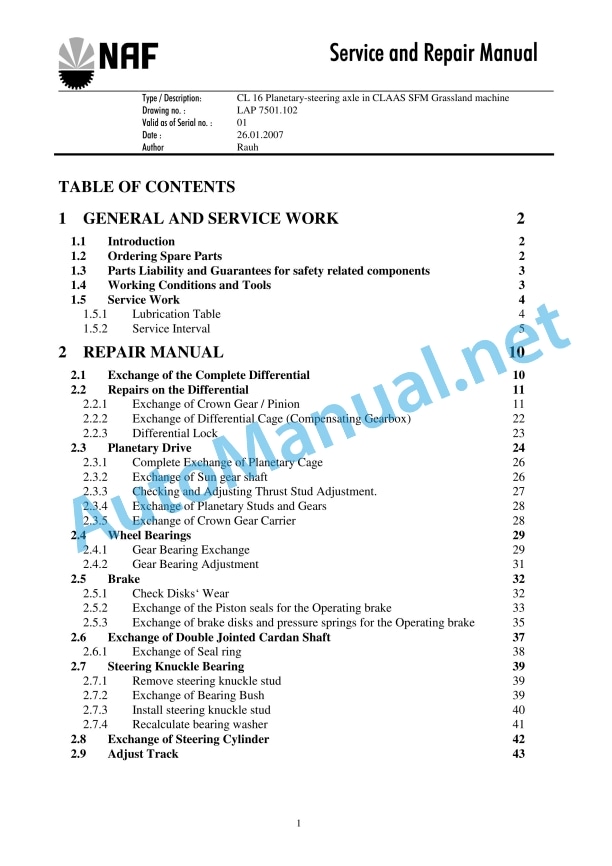
NAF CL 16 Planetary-steering axle.pdf
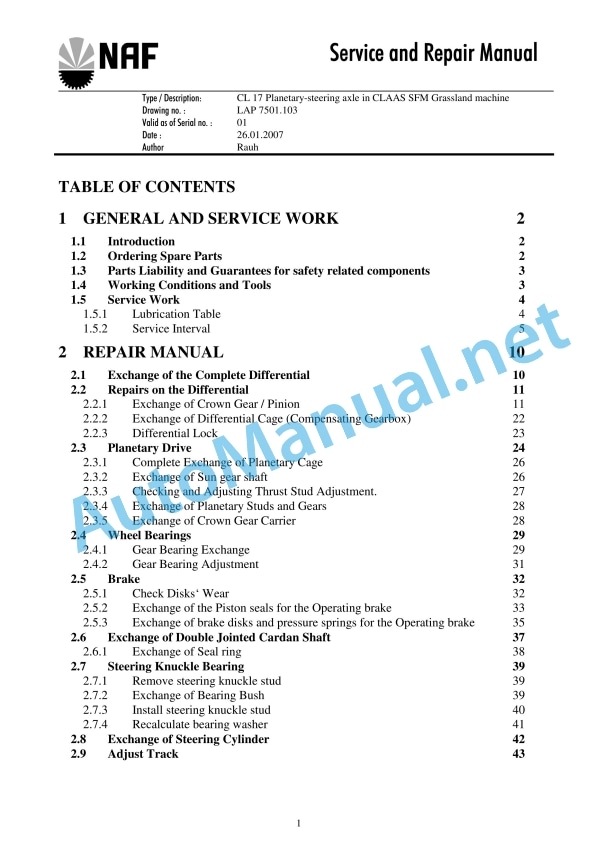
NAF CL 17 Planetary-steering axle.pdf
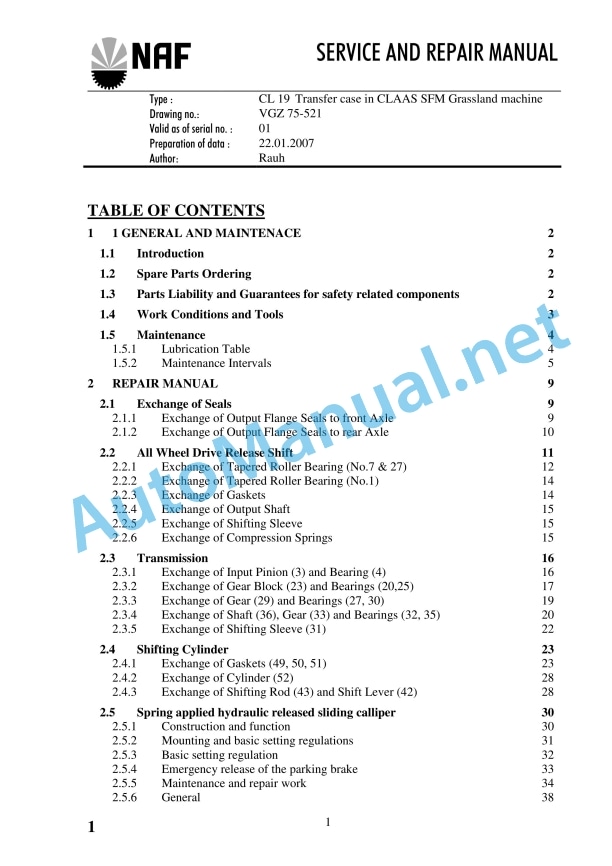
NAF CL 19 Transfer case.pdf
00 0296 636 0.pdf:
Table of contents
Introduction
General Information
Validity of the manual
Using the manual
Text and figures
Layout with assembly group structure
Search and find
Direction information
Abbreviations
General repair instructions
Technical specifications
Notes on economical repair
Self-locking bolts
Liquid locking compound
Steel roller chains
Tensioning
Chain connector
Taper ring fasteners
Dismounting
Installation
Gib head key joints
Dismounting
Installation
Lock collar bearing
Dismounting
Installation
Adapter sleeve bearings
Dismounting
Installation
Chuck bushing
Dismounting
Installation
Circlips
Ferrule fittings
Screwing in
Non-tight ferrule connection
Sealing cone fittings
Hydraulic hose lines
Hose placement
Spare parts
Torque settings
Tightening torques for metric standard threads
Tightening torque for metric fine threads
Tightening torques for hydraulic screw fittings with ferrule DIN 3861
Tightening torques for hydraulic screw fittings and air conditioner screw fittings with O-ring and sealing cone DIN 3865
Tightening torques for SDS hydraulic male connectors
Tightening torques for direction-adjustable SDE hydraulic male connectors
Tightening torques for hydraulic swing fittings
Tightening torques for hollow screws DIN 7643
Tightening torques for brake line screw fittings
Tightening torques for worm drive hose clamps
Tightening torque for spring-loaded worm drive hose clamps
Tightening torques for tyres
General Information
Of special importance
Identification of warning and danger signs
General safety and accident prevention regulations
First aid measures
Risk of injury from hydraulic fluid
Leaving the machine
Putting the machine out of operation
Jacking up the machine
Adjustment and maintenance operations
Welding work
02 Gearbox / Clutch / Universal drive shaft
0230 Mechanical gearbox
Main gearbox
Main gearbox 00 0937 218 2
Work preparation
Removing
Disassembling the gearbox
Draining the oil
Removing the housing hub
Removing the shaft from the housing hub
Removing the through shaft
Assembling the gearbox
Installing the through shaft
Pre-assembling the housing hub
Adjusting the gear teeth
Inserting the housing hub
Topping up the oil
Main gearbox 00 0480 604 1
Repair kit for shaft
Work preparation
Removing
Disassembling the gearbox
Draining the oil
Removing the housing hub
Removing the bevel gear shaft
Removing the through shaft
Assembling the gearbox
Pre-assembling the through shaft
Assembling the through shaft
Pre-assembling the bevel gear shaft
Adjusting the gear teeth
Installing the housing hub and flange
Topping up the oil
Installing
Main gearbox 00 0481 978 3 / 00 1321 234 1
Repair kit for shaft
Work preparation
Removing
Removal 00 0481 978 3
Removal 00 1321 234 1
Disassembling the gearbox
Draining the oil
Removing the radial shaft seals
Removing the input housing hub
Removing the bevel gear shaft
Removing the output housing hub
Removing the shaft
Removing the through shaft
Assembling the gearbox
Pre-assembling the through shaft
Installing the through shaft
Pre-assembling the output shaft
Pre-assembling the input shaft
Adjusting the gear teeth
Screwing on the housing flange and the housing hub
Topping up the oil
Installing
Installation 00 0481 978 3
Installation 00 1321 234 1
Angle drive
Angle drive 00 0481 204 2
Work preparation
Disassembling the gearbox
Draining the oil
Removing the shaft seal
Removing the input shaft
Removing the bevel gear shaft
Assembling the gearbox
Installing the bevel gear shaft
Inserting the input shaft
Adjusting the gear teeth
Closing the housing
Topping up the oil
Angle drive 00 0925 309 0
Work preparation
Disassembling the gearbox
Draining the oil
Removing the shaft seal
Removing the input shaft
Removing the bevel gear shaft
Assembling the gearbox
Installing the bevel gear shaft
Inserting the input shaft
Adjusting the gear teeth
Closing the housing
Topping up the oil
Angle drive 00 0481 231 1
Work preparation
Removing
Disassembling the gearbox
Draining the oil
Removing the radial shaft seals
Removing the input shaft
Removing the output shaft
Assembling the gearbox
Inserting the output shaft
Pre-assembling the input shaft
Adjusting the gear teeth
Inserting the input shaft
Installing attachment parts
Topping up the oil
Installing
Angle drive 00 0934 534 1
Work preparation
Disassembling the gearbox
Draining the oil
Removing the input shaft
Removing the output shaft
Removing the through shaft
Assembling the gearbox
Installing the through shaft
Inserting the output shaft
Inserting the input shaft
Adjusting the gear teeth
Closing the gearbox
Topping up the oil
09 Hydraulic system
0930 Cylinders
Hydraulic cylinder
Hydraulic cylinder 00 0481 044 1
Hydraulic cylinder 00 0481 072 2
Hydraulic cylinder 00 1320 912 0
Fitting the load relief cylinder
Fitting the load relief cylinder
Hydraulic cylinder 00 0482 340 2
Hydraulic cylinder 00 0482 341 1
Hydraulic cylinder 00 0483 638 1
Hydraulic cylinder 00 0483 660 1
Hydraulic cylinder 00 1320 405 0
Hydraulic cylinder 00 1320 911 0
23 Mower unit
2305 Cutter bar
Mower head, General
Mower head, standard
Overview of mower head
Work preparation
Auxiliary tool
Notes for disassembly
Draining the oil
Removing the cover
Removing the feed drums
Removing the cutting discs
Removing the slides
Removing the idler gear
Removing the ball bearing
Installing the deep groove ball bearing
Removing the rotor
Removing the input rotor
Notes on reassembly
Pre-assembling the rotor
Pre-assembling the input rotor
Installing the idler gear
Installing the bearing sleeve
Screwing in the housing screws
Installing the rotor
Leak test
Screwing on the slide
Fitting the cutting disc
Attaching the feed drum
Attaching the input feed drum
Attaching the cover
Topping up the oil
P-Cut mower head
Overview of mower head
Work preparation
Notes for disassembly
Draining the oil
Removing the feed drum
Removing the cover
Removing the cutting disc
Removing the slides
Removing the idler gear
Replacing the ball bearing
Removing the rotor
Notes on reassembly
Pre-assembling the rotor
Installing the idler gear
Installing the bearing sleeve
Mounting the housing screws
Installing the rotor
Leak test
Attaching the slide
Attaching the cutting disc
Adjusting the cutting discs
Checking the angle
Measuring the distance of the mower knives on the outside
Measuring the distance between the mower knives on the inside
Checking the angular error
Preparing the angle correction
Removing the cutting disc
Removing the rotor
Correcting the angular error
Checking the angle correction
Marking the position of the rotor
Installing the rotor
Fitting the cutting disc
Attaching the cover
Topping up the oil
John Deere Repair Technical Manual PDF
John Deere Repair Technical Manual PDF
John Deere Repair Technical Manual PDF
John Deere Parts Catalog PDF
John Deere Tractors 7500 Parts Catalog CPCQ26568 30 Jan 02 Portuguese
John Deere Repair Technical Manual PDF
John Deere Diesel Engines PowerTech 4.5L and 6.8L – Motor Base Technical Manual 07MAY08 Portuguese
John Deere Repair Technical Manual PDF
John Deere Parts Catalog PDF
John Deere Tractors 6300, 6500, and 6600 Parts Catalog CQ26564 (29SET05) Portuguese
John Deere Repair Technical Manual PDF
John Deere PowerTech M 10.5 L and 12.5 L Diesel Engines COMPONENT TECHNICAL MANUAL CTM100 10MAY11
John Deere Repair Technical Manual PDF
John Deere Repair Technical Manual PDF
John Deere POWERTECH E 4.5 and 6.8 L Diesel Engines TECHNICAL MANUAL 25JAN08

